
Have you ever looked at those shabby vintage style products and wondered how you could get your page to look a little more shabby? I certainly have. Many times. Especially when I use some background paper to clip to a strip for a label or journaling strip, and the result just doesn’t look shabby at all. But then I found a super easy way to actually get that shabby look, and all it takes is just a few steps in photoshop.
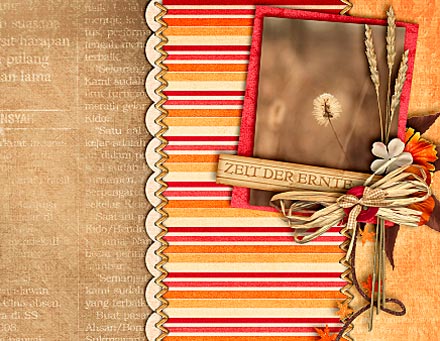
Take a look at this page:

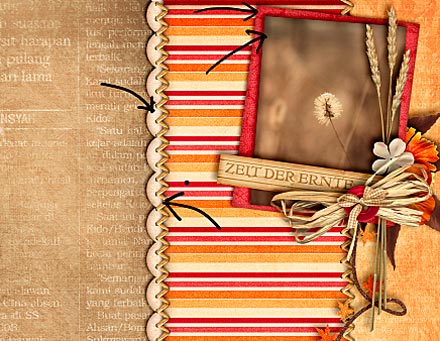
There are several places where I clipped papers to a shape, and without inking the edges the result would look something like this:
Then I inked the edges, and this is how that turned out:
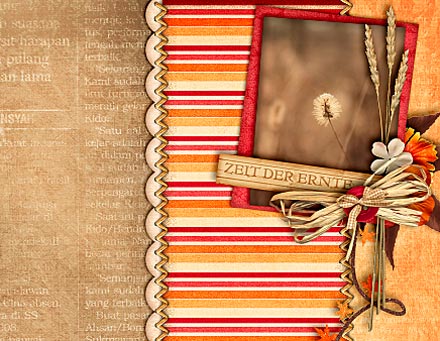
Pay attention to the edges …
So, if you would like to know how to get that effect, here’s the deal:
Inked Edges
Step 1:
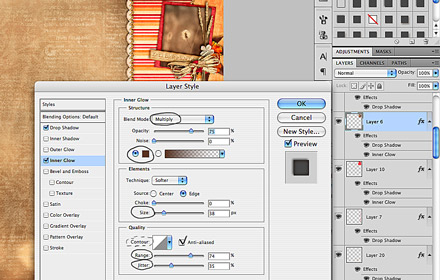
In the layers panel, select the layer of the paper/photo/element you want to modify. Double click the layer in the panel to open up the Layer Style dialogue and select the option “Inner Glow” on the left side menu.
Step 2:
Adjust the following settings:
- Blend Mode: Multiply
- Color: black/brown (darker shade of element/paper color)
- Size: depends
- Range: depends
- Jitter: depends
Optional settings: Opacity, noise, contour.
Depending on the size and type of element/paper you want to make adjustments to, the amounts will vary. My suggestion is that you play around a bit with the values to see their effects and then to choose one value that best suits your taste and need.
The values I used for that photograph are as follows:
- Blend mode: multiply
- Opacity: 75
- Noise: 0
- Color: dark brown (picked it from the darkest spot of the photograph)
- Technique: softer
- Source: edge
- Choke: 0
- Size: 38
- Contour: linear
- Range: 74
- Jitter: 35
As far as color is concerned, you can simply click on the little colored square, which will open your Color Picker dialogue, and with the pipette you can pick a darker shade of the color of your element, or pick a shade of brown (as inked edges are usually black or brown).
Step 3:
Make sure anti-alias is checked, and already you are good to go.
Now, your clipped papers can always have that shabby look, like the rest of your page. This method works for papers, photos, elements and fonts.
Tips:
- If you want to apply shadows, and you already have a preset shadow style, apply that preset first, and then add the inner glow style.
- If you have several layers on your canvas that need the same style settings, first apply your shadows and inner glow styles to one layer. Next, right click on that layer in the layer panel and choose “Copy Layer Style.” Then, still in your layer panel, select all the layers that would get the same settings, right click on one of the selected layers, and select “Paste Layer Style.” Now all the layers you selected have the same style settings.
This is one thing I do miss from my paper scrapping days – inking. I tried quite a few times when I started scrapping digitally, and could never get it to look good – it just looked digital. I can’t wait to try this tut! Thanks!