

Vom Scrapbook Layout zur Traveler’s Notebook Seite
Anzeige (Enthält Produktempfehlung) / Advertisement (Contains product endorsement)
English
Have you ever sat there and didn’t know where to start with your page layout?
There are many ways to find inspiration for your pages. But today, I want to show you one way that works great.
Deutsch
Habt ihr schon mal dagesessen und nicht gewusst, wo ihr mit einem neuen Scrapbookprojekt anfangen wollt?
Es gibt natürlich viele Wege, wie man mit diesem Problem umgeht, und viele Wege, sich Inspiration zu holen. Und heute möchte ich euch einen solchen Weg zeigen:
Starting with a Scrapbook Layout
I like to take inspiration from an existing scrapbook layout. These layouts can be paper layouts, or digital layouts. Both types work equally well. And as most of you already know, this process is called scraplifting.
Mit dem Scrapbook Layout anfangen
Ich hole mir Inspiration gerne von anderen Scrapbook Layouts. Diese Layouts können digital oder Papierlayouts sein.
But even though a traveler’s notebook spread and a 12×12 scrapbook layout are two entirely different things, you can still easily use the inspiration of a 12×12 layout for your TN spreads.
Und obwohl ein Traveler’s Notebook Layout und eine 12×12 Scrapbookseite grundsätzlich verschieden sind, kann man sich doch sehr leicht von einem 12×12 Scrapbook Layout inspirieren lassen.

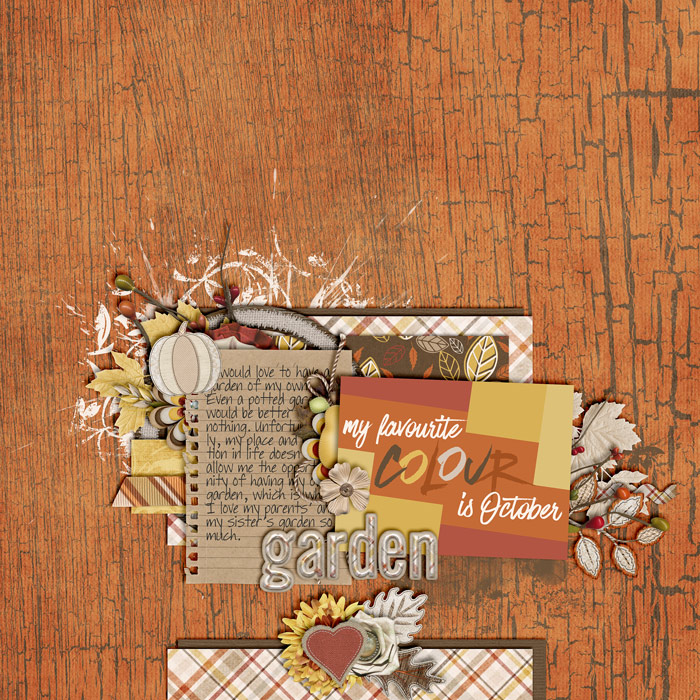
For today’s example, I decided to scraplift one of my own previously scrapped digital layouts.
I started with this page that I posted almost to the day 7 years ago here on this site:
Zur Veranschaulichung heute, habe ich beschlossen, eine meiner eigenen digitalen Scrapbook Layouts nachzubauen.
Ich habe mit dieser Seite begonnen, die ich fast auf den Tag genau vor sieben Jahren veröffentlicht habe:
Building the Page
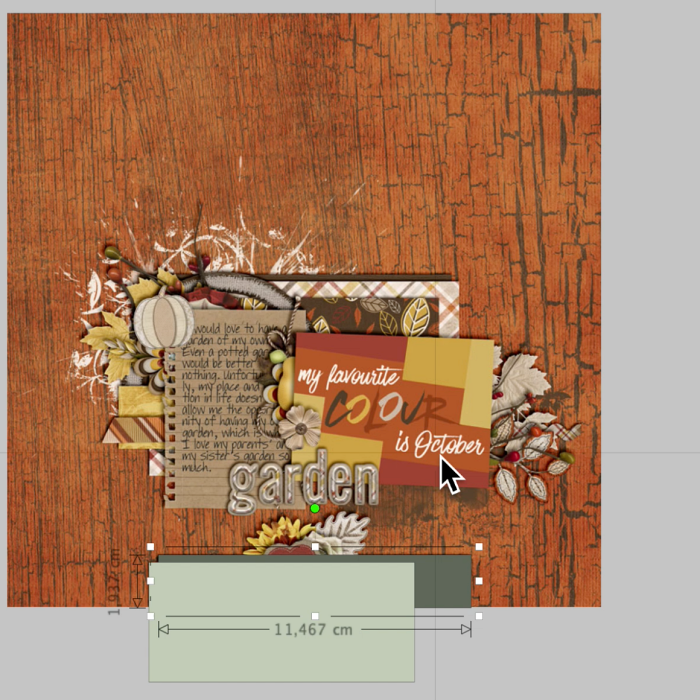
I copied this page into my Silhouette Studio canvas, resized it to fit the project that I wanted to work on, and then began to build my scraplift.
Die Seite aufbauen
Ich habe diese Seite in meine Silhouette Studio App kopiert, die Göße angepasst, und dann angefangen, die Seite nachzubauen.

I simply started drawing rectangles in the same size as the papers on the digital layout, and placed them in the same position as they are in the original layout.
In order to be able to continue to see the original layout, once I positioned each rectangle, I sent its layer behind the layer of original layout. For this to work, it’s important that the original layout is placed in the front of all other layers. Then, I start with the layers that are layered in the back of the original layout. I draw a rectangle (or copy and resize an existing one), and that automatically places this new layer in front of the original layout layer. As I create each layer, I then send it backward until it’s behind the layer with the original layout.
Ich habe dabei einfach angefangen, Rechtecke in derselben Größe und Position zu erstellen, wie sie im Original zu sehen waren.
Damit ich das Original weiter sehen kann, habe ich jedes Rechteck nach der Erstellung und Positionierung dann hinter das Original platziert. Dazu muss das Original ganz oben positioniert sein. Und wenn ich dann ein neues Rechteck erstelle oder ein existierendes kopiere, es landet jeweils auf dem Original. Und dann, nachdem ich jede Lage erstelle, schicke ich sie dann hinter das Original. Dazu ist es auch hilfreich, wenn ich mit den hintersten Lagen zuerst beginne, und mir den Weg nach vorne vorarbeite.
Finally, I added the photo. And when all papers were in position, I moved the original layout to the side to reveal the new layout that I’ve been building.
Schließlich konnte ich den Platzhalter für das Foto einfügen, und als alles an Ort und Stelle war konnte ich das Original dann verschieben, damit mein neues Layout sichtbar wird.

Now, I realized that I wanted to make some adjustments to the layers that I put together. I moved some of the shapes, resized others, etc., until I liked what I was seeing.
Jetzt konnte ich sehen, wo ich noch ein paar Änderungen vornehmen wollte, damit alles ein schönes Ganzes ergibt. Dafür habe ich ein paar der Rechtecke verschoben, oder die Größe angepasst.

Finally, it was time to move the entire design onto the traveler’s notebook background and position it in the way that would work best with the two pages. For example, I pay attention to whether the photo will have to be cut apart because it sits right on the middle line of the two pages.
Am Ende kann dann das gesamte Design auf den Traveler’s Notebook Hintergrund verschoben werden. Dabei ist es wichtig darauf zu achten, wo die zwei Seiten getrennt sind, damit ich z.B. nicht mitten durch ein Foto schneiden muss, wenn ich das vermeiden möchte.
Now all that needed to be done was to add the title place holder, the journaling place holder and the embellishment clusters. Then I was ready to use this to create my actual TN spread.
Nun mussten nur noch die Platzhalter für Titel, Text, und Accessoires platziert werden, und dann konnte die Vorlage für eine neue TN-Seite verwendet werden.
Now, I happened to use digital papers for this from my extensive digital scrapbook stash. But you can just use the original scrapbook layout to eyeball it, or you can create a template like I did (which ordinarily takes me only a couple of minutes to do), and use the template to cut your papers to exactly the size that you need it. (Or, if you don’t want to use your cutting machine, you can just use the template to get the measurements, then trim things by hand.)
Jetzt habe ich für mein Beispiel digitale Papiere verwendet. Aber genauso gut könnt ihr einfach die Vorlage nehmen und sie Pi mal Daumen nachbauen, oder ihr könnt euch eine Vorlage erstellen (was bei mir in der Regel nur ein paar Minuten in Anspruch nimmt). Diese Vorlage könnt ihr dann nehmen, um entweder die Maße zu entnehmen, um eure Papiere per Hand zurechtzutrimmen. Oder eure Maschine kann euch die Papiere in genau der Größe schneiden, wie ihr sie braucht.

Finally, it was time to assemble the page, and this is how it turned out:
Am Ende konnte ich die Seite zusammenstellen und das ist daraus geworden:
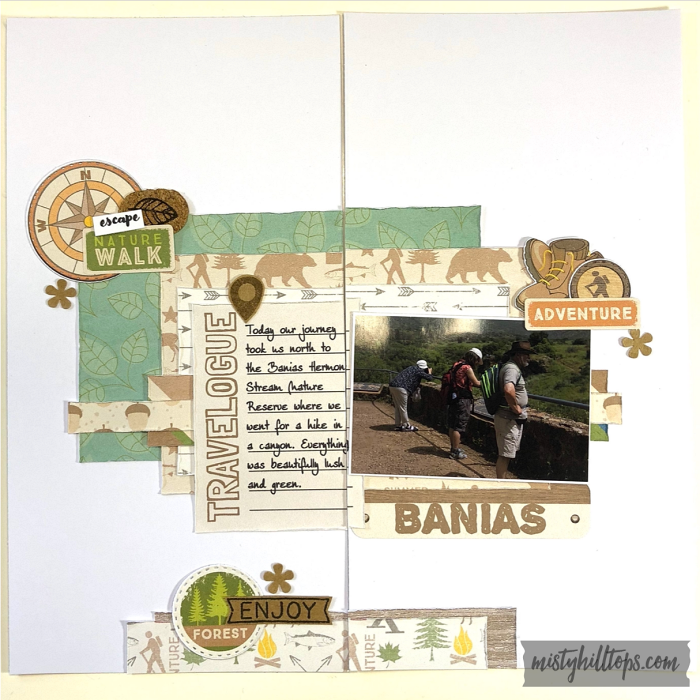
So, with this method, I was able to turn a digital scrapbook layout into a paper layout with ease. And still, it looks like an all new page with the adjustments I made.
Also war ich in der Lage, mit dieser Methode im Handumdrehen ein digitales Scrapbook Layout in eine TN-Seite zu verwandeln. Und trotzdem sieht das Endergebnis doch ein ganzes Stück anders aus, wie das Original – was die ganze Sache interessanter macht.

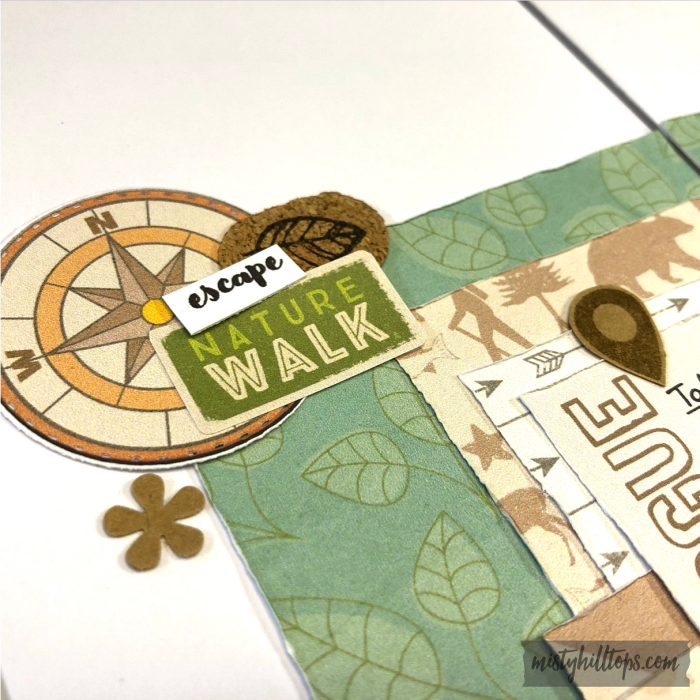
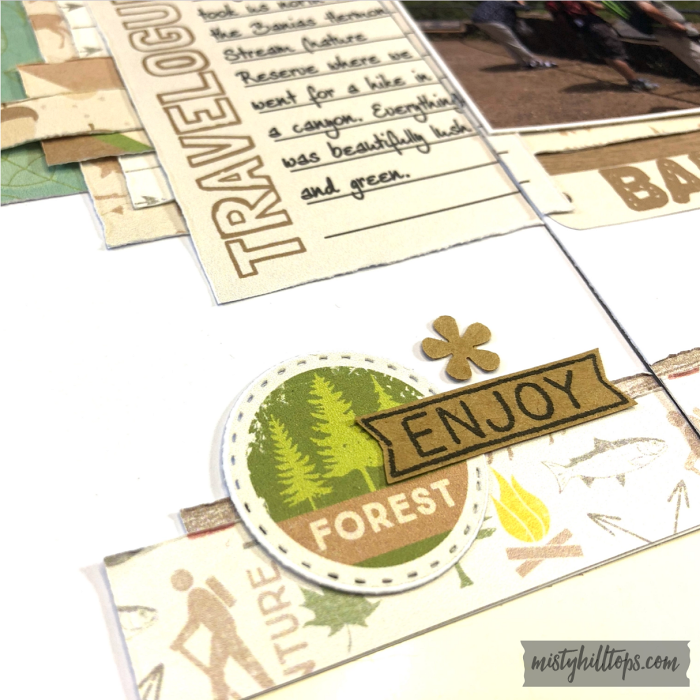
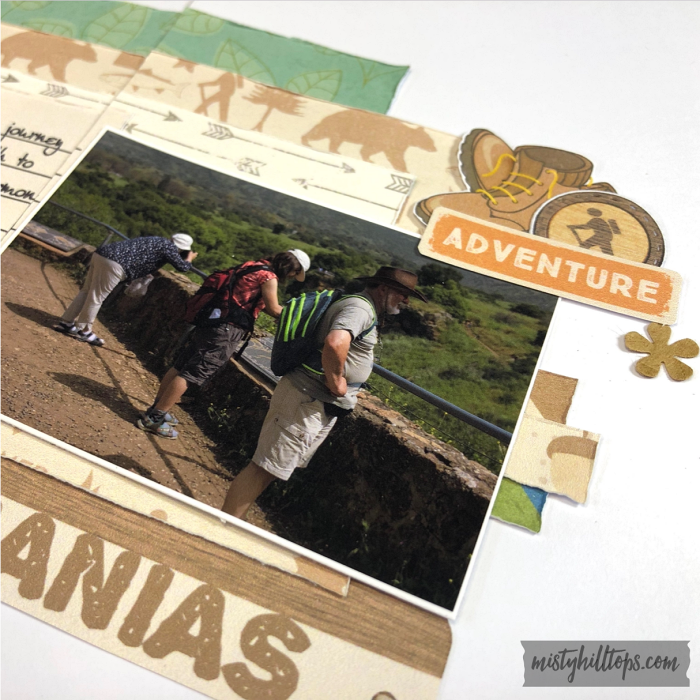
Here are a few more closeups of the finished project:
Hier gibts noch ein paar Detailansichten des fertigen Projektes:

I also created a video that explains this process by taking you step by step.
Ich habe auch ein Video erstellt, dass den Vorgang Schritt für Schritt erklärt.

And here is the process video of the page:
Und dieses Video zeigt, wie die Seite entsteht:
