Anzeige (Enthält Produktempfehlung) / Advertisement (Contains product endorsement)
English
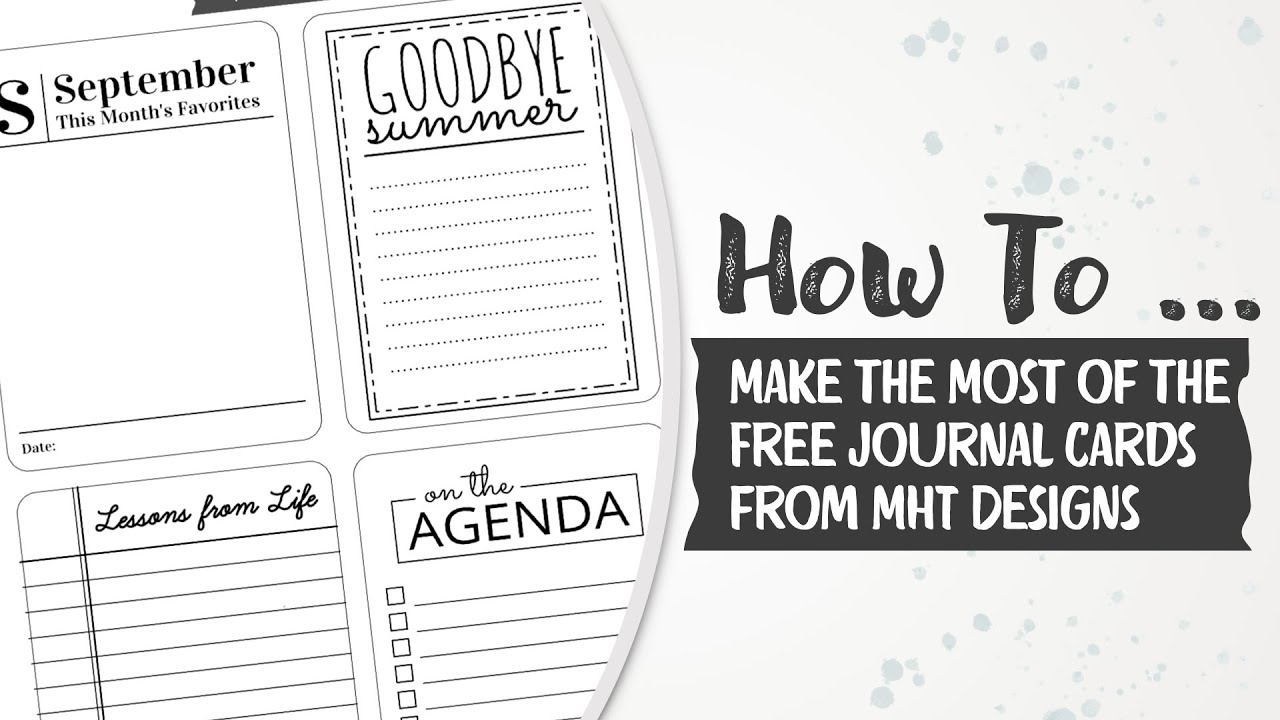
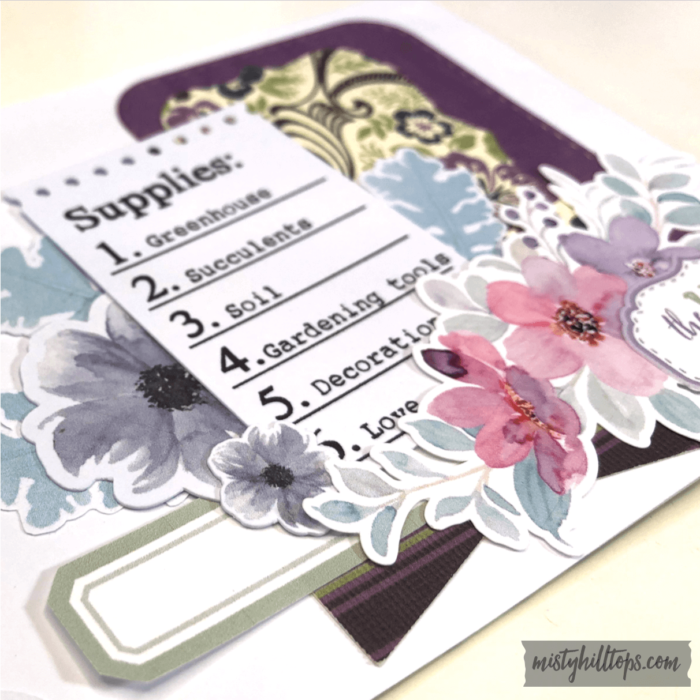
I started sharing a new generation of journal cards (more are still to come). And these cards are different from the ones I shared previously, because they are created in Silhouette Studio, rather than Photoshop.
But while they may be something to get used to, these cards are far more versatile than any other cards I ever created. In fact, I decided sharing them, because I realize I’m using these style cards far more often than the ones that come with the digital scrapbook kits – simply because I can reuse them in new styles over and over.
Deutsch
Ich habe angefangen, Journal Karten zur Verfügung zu stellen (und weitere sind bereits erstellt). Und diese Karten sind anders als die Karten, die ich bisher erstellt habe, denn anstatt sie in Photoshop zu kreieren, habe ich das im Silhouette Studio getan.
Aber während sich manche von euch erst einmal an diesen (Silhouette) Stil von Karten gewöhnen müssen, sind diese Karten sehr viel vielseitiger, als alles, was ich zuvor in dieser Richtung geschaffen habe. Persönlich habe ich gemerkt, ich greife sehr viel häufiger zu diesen Karten, als zu allen anderen Karten, die ich mit den digitalen Kits designed habe, da ich sie immer wieder in neuer verwenden kann.
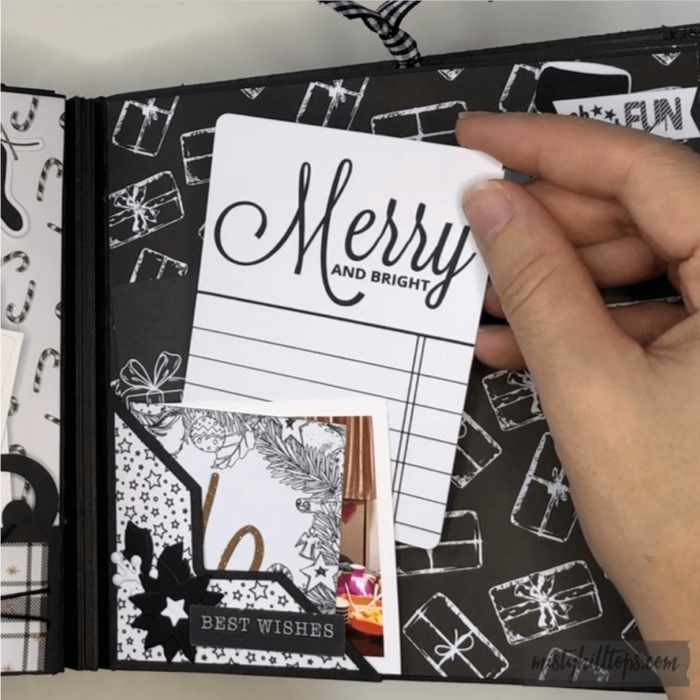
From this …
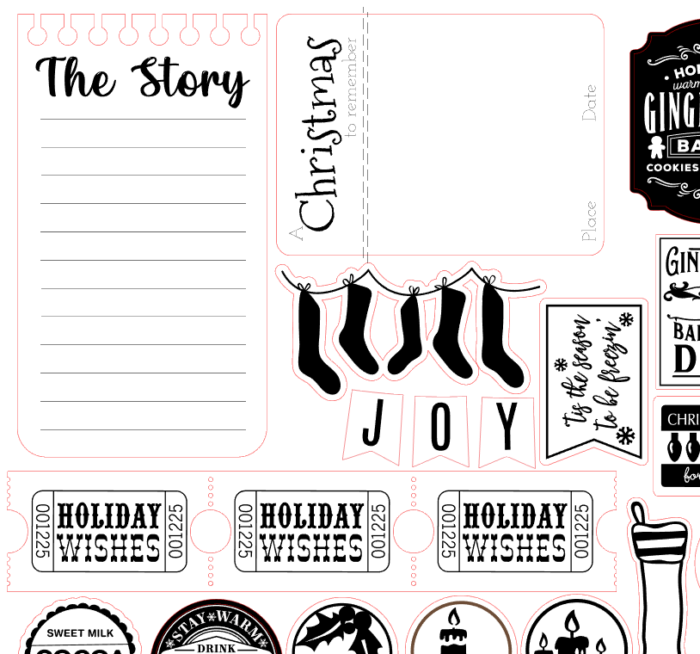
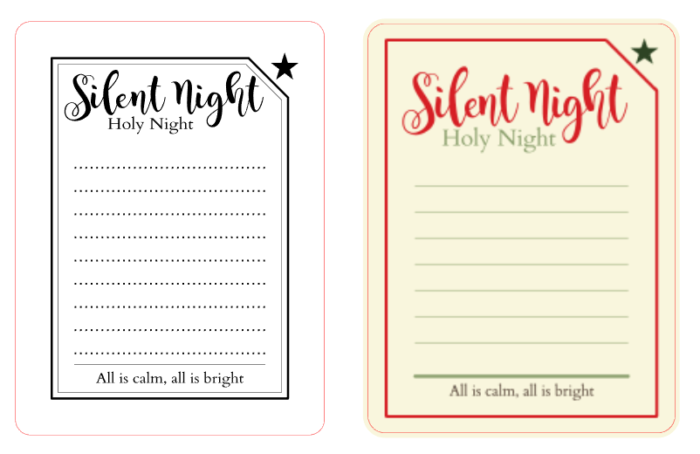
… to this, …
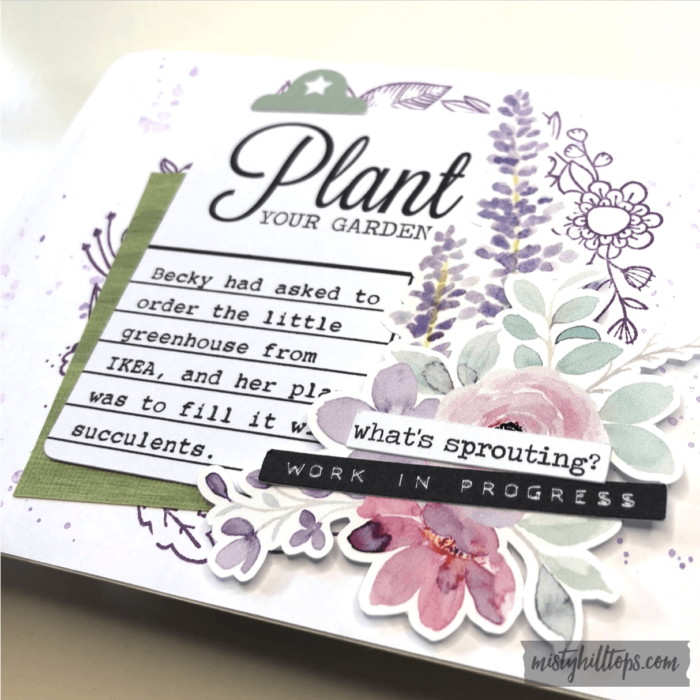
… or this:

And to help you make the most of these cards, I decided to put together this tutorial. So, here is what you can do with these cards.
Note: At the very bottom of this post is a Video that explains some of this as well.
Und damit ihr das Meiste aus diesen Karten herausholen könnt, habe ich hier ein paar Tipps für euch zusammengetragen.
Anmerkung: Ganz unten in diesem Artikel findet ihr ein Video (englisch), dass dies auch z. T. erklärt.
1. Print & Cut from PDF
If you just want to print and trim these cards for your physical Project Life or other projects, you can do so simply with the PDF file that comes included.
1. PDF drucken & schneiden
Wenn ihr die Karten einfach nur drucken und (per Hand/Trimmer) schneiden wollt, um sie für eure Project Life Seiten oder bei anderen Projekten zu verwenden, dann könnt ihr einfach mit der PDF Datei arbeiten.
2. Digital Version
If you want to use these cards as digital product, i.e. in Photoshop, you can do so as well. Using the Magic Wand or Marquee Tool with the PDF loaded into PS, it’s easy enough to extract a high quality image of the cards onto your digital canvas.
2. Digitale Version
Wollt ihr die Karten als digitales Produkt verwenden, z. B. in Photoshop, dann könnt ihr das auch tun. Mit dem Zauberstab oder Maskenwerkzeug könnt ihr euch die Karten in PS aus der PDF ausschneiden, und dann in eurem digitalen Projekten verwenden.

But here’s where things start to be fun and interesting.
Aber an dieser Stelle wird’s interessant.
3. Fully Customizable Silhouette/SVG Version
If you want to use these cards in customizable form, you can easily do so in the Silhouette Studio software (free download, even if you don’t own a Silhouette product). (And I would assume you could do the same in whatever other apps of what electronic cutting machines are out there, though I haven’t tried other programs.)
3. Voll anpassungsfähige Silhouette/SVG Version
Wenn ihr diese Karten euren Bedürfnissen anpassen wollt, dann könnt ihr das in der Silhouette Studio App ganz leicht tun. (Übrigens steht Silhouette Studio allen kostenfrei zum Download zur Verfügung, selbst wenn ihr kein Silhouette Produkt besitzt. (Und ich nehme an, die Apps anderer Schneidegräte funktionieren ähnlich, auch wenn ich es mit anderen Apps nicht getestet habe.)
Customize Silhouette File
Silhouette Datei anpassen
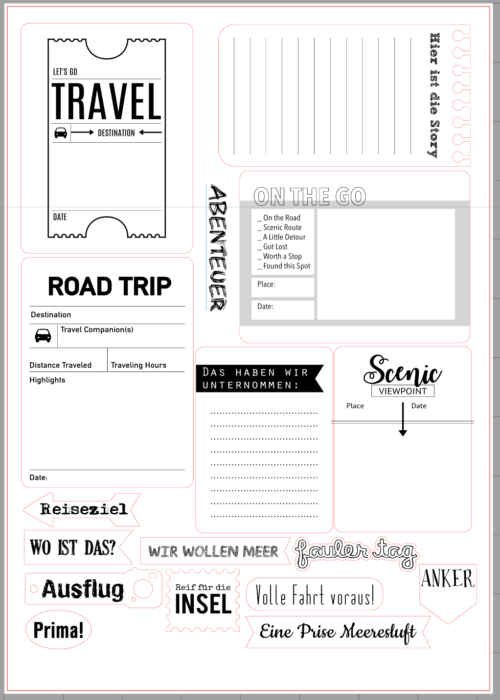
Print Selection
If you want to just print a single card, or a selection instead of all, you can easily pick which cards you want in Silhouette Studio, and remove the rest from the printing canvas. (Saves print ink and paper.)
Auswahl drucken
Wenn ihr nur eine Auswahl der Karten drucken wollt, könnt ihr die Karten einfach in Silhouette Studio wählen, und die übrigen Karten vom Druckbereich entfernen. (Spart Druckerpatrone und Papier.)

Here I added other elements for print to the cards that I placed at the bottom of the paper that is to be printed.
Hier habe ich noch weitere Elemente zu den Karten hinzugefügt, die dann gedruckt werden. Die Karten sind ganz unten auf der Seite.

Important: By default, the file is set that the outlines of the card aren’t printed. (To make your cutting machine do the job of cutting.) However, if you plan on trimming this cards by hand, you can easily add a printed outline by selecting the card outline (you need to ungroup the card to only select the card outline and not modify the card as a whole). Then change the line thickness (Line Tool) to a value other than 0. I recommend a thickness 0.25, and to change the color to black (if it’s not black) to save on color ink.
Wichtig: Die Karten sind automatisch so eingerichtet, dass der Umriss der Karte nicht gedruckt wird. (Damit eure Schneidemaschine die Karten problemlos ausschneiden kann.) Aber wenn du die Karten von Hand trimmen/schneiden möchtest, kannst du ganz leicht einen gedruckten Umriss hinzufügen. Wichtig ist, dass ihr zunächst die Gruppierung der einzelnen Karte entfernt, sodass ihr nicht die gesamte Karte verändert. Dann ändert ihr die Liniendicke (Linienwerkzeug) zu einem Wert, der nicht 0 ist. (Ich empfehle eine Dicke von 0.25.) Um Farbpatrone zu sparen, sollte der Umriss schwarz gef¨arbt sein (falls er es nicht schon ist).
Recolor Parts or Entire Card
Karten Umfärben
If you want to recolor parts or the entire card to match your project, you can easily do that in Silhouette as well. (All cards are individually grouped, and items can be variously changed.)
Wenn ihr die Karten als Ganzes oder Teile davon umfärben möchtet, könnt ihr das in Silhouette auch einfach tun. (Alle Karten sind individuell gruppiert und voll anpassungsfähig.)
Simply ungroup each card you want to modify, then select the parts that you want to recolor.
Note 1: Do NOT recolor the entire grouped card. That will turn the entire card into one plain color, and all the designs become indistinguishable from the background (same color). It is very important that before you recolor anything, you UNGROUP things and select individual elements.
Note 2: Fonts and lines are different. Fonts and other elements are colored with the Color Fill Tool in Silhouette Studio.
Lines (even dotted, or dashed lines) are colored with the Line Tool.
You can recolor every element on the card – words, other elements, boxes, lines, etc.
Entfernt die Gruppierung von jeder Karte (keine Ahnung, wie das auf deutsch heißt, haha). Dann wählt die Elemente aus, die ihr neu einfärben wollt.
Anmerkung 1: Ändert auf keinen Fall die Farbe, wenn die Karte gruppiert ist. Das resultiert darin, dass die gesamte Karte zu einer Farbe reduziert wird, und alles farblich mit dem Hintergrund verschmilzt. Es ist wichtig, dass ihr immer die Gruppierung entfernt, und dann einzelne Element auswählt, bevor ihr die Karten anpasst.
Anmerkung 2: Schriftarten und Linien unterscheiden sich. Schriftarten und andere Elemente werden mit dem Farbfüll Werkzeug gefärbt.
Linien (selbst gepunktete und gestrichelte) werden mit dem Linienwerkzeug gefärbt.
Ihr könnt jedes Element der Karte färben – Worte, andere Elemente, Umrandungen, Linien, usw.
Resize Cards
Größe anpassen
If you want to resize these cards, you can also easily do so in Silhouette. (E.g. in my projects I like to use smaller than 3×4 cards, and with the Silhouette file this is easily done.)
Wenn ihr die Größe der Karten ändern wollt, könnt ihr das auch leicht in Silhouette tun. (Z.B. arbeite ich gerne mit Karten, die kleiner als die Standard 3×4 sind.)
Note how the cards above has a different size. And again, to save paper, I add more elements to my print page.
Seht, wie die Karten oben unterschiedliche Größen haben. Und, um Papier zu sparen, habe ich weitere Elemente zu der Seite hinzugefügt.
You resize tings by selecting the entire card, and then from the corner grab one of the nodes and pull them out or in. (See video below.)
Alternatively, you can use the Scale Tool to give your card a specific value for the size. (Lock the lock to ensure your card is resized proportionately.
Ihr könnt die Größe ändern, indem ihr die gesamte Karte auswählt, und dann von einer Ecke her die Karte vergrößert oder verkleinert. (Sieh Video unten.)
Alternativ könnt ihr auch das Größenwerkzeug verwenden, um euren Karten eine spezifische Größe zu geben. Wichtig ist, dass das Schloss geschlossen ist, um die Proportion der Karte zu erhalten.
Add Journaling Before Printing
Text vor dem Druck hinzufügen
One more fabulous tip:
If you don’t like your handwriting, or want to use a specific font, just, add your journaling text to the card before you print it.
Noch ein fabelhafter Tipp:
Wenn ihr eure Handschrift nicht mögt, oder eine bestimmte Schriftart verwenden möchtet, könnt ihr euren eigenen Text zu den Karten hinzufügen, bevor ihr alles druckt.

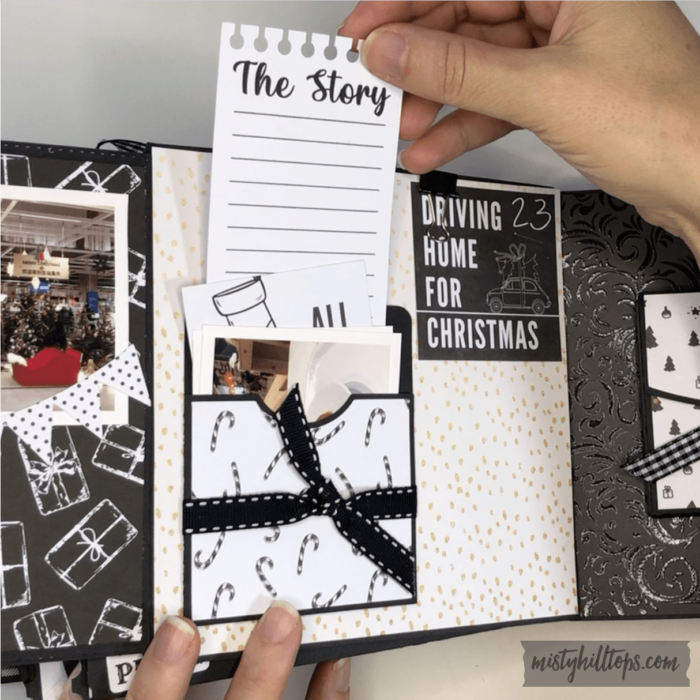
Here is another example of how I used one of the cards for a project:
Hier ist ein weiteres Beispiel, das zeigt, wie ich eine dieser Karten in einem Projekt verwende:
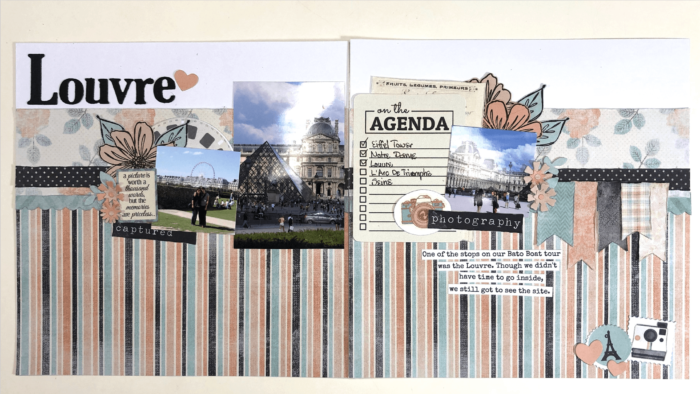
Note how I recolored and resized the card to fit a 6×12 layout size. With these cards, this is just as easily possible as well as just using them as is.
Seht ihr, wie ich die Karte neu eingefärbt und so verkleinert habe, dass sie auf dieses 6×12 Layout passt? Mit diesen Karten ist das genauso leicht, wie sie unverändert zu verwenden.

Video Tutorial
Here is a video tutorial explaining how you can make the most of these journal cards:
Hier gibt’s noch ein Video, das erkl¨art, wie man aus diesen Karten das Meiste herausholt: