Most digiscrap kits come with little word strips and pieces of word art. I don’t know about you, but I rarely find myself using those word bits, because either they don’t say what I’d like to say, or they just don’t match with the topic of the page. For me, being somewhat international ( 😉 ), living in a somewhat tri-lingual world of English, Chinese, and German, I run into another problem with these ready-made word strips – they usually all come in English, and if I’m creating a page in German (which happens a lot for photo book projects etc.) then it’s just not right to use English word strips.
Having said that, I have to admit, I like to use bits and pieces of word art on my pages. And the solution to the language/topic dilemma is: Creating my own word bits. Of course, the best thing is, if the designers are considerate enough to add blank versions of their word strip pieces to the kit (I end up using those a lot). But even if not, there are many ways how to work around this and create your own pieces of word art.
Strategy #1:
Use the shape tool in photoshop to create a clipping mask, clip a paper from the kit you’re using, merge the layers, add your text on top (I prefer to keep the text layer separate in case I need to go back and redo something), and there you have your own label/word strip.
Strategy #2:
Use an existing label, and with the clone tool remove the writing part (you’ll be copying some of the blank parts of the word strip on top of the area with the text), then add your own words (works well, if the blank space isn’t to scarce).
Strategy #3:
Use one of the labels/word strips that come with the kit. Select that layer in your layers panel, and with the magic wand tool click outside the shape of the label. Invert the selection (windows key + shift +i) so that the label is marked with the marching ants. Add a new layer (windows key + shift + n), using the color picker (i), pick a color from the label (if you want to use this color) or any color (if you will clip a paper to it), and with the paint bucket tool (g) fill the selection. Press windows key + d to remove the selection, and clip a paper to your label or leave it as is. (You may want to delete the original word strip.) Add text on top of this layer, and maybe add some inked edges to the label (see last week’s post), and your word strip is complete.
I’m sure there are lots of additional various ways to create your own word strips.
Example
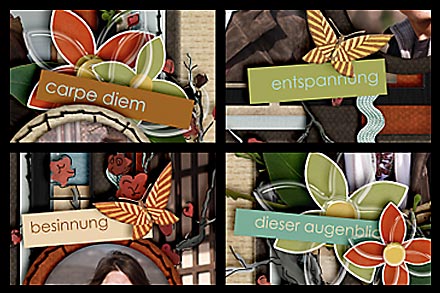
Here is an example of a page I created last week (it’s actually a double page), for which I designed my own word strips. The kit comes with some pretty word strips, but the words just didn’t match (and were in English, of course). So, I did what I just described in Strategy #3 above: I dragged all the word pieces onto my layout, then selected one with the magic wand tool + inversion, created a new layer, filled that with the same color (using the color picker), added my own words, filled those with the same color as the original word piece, and had my own word strip.
I did that with all the other strips, too, so they look pretty much like the original ones, except they are in German and have different meanings.
If you know how to easily create your own word strips, your possibilities are endless!
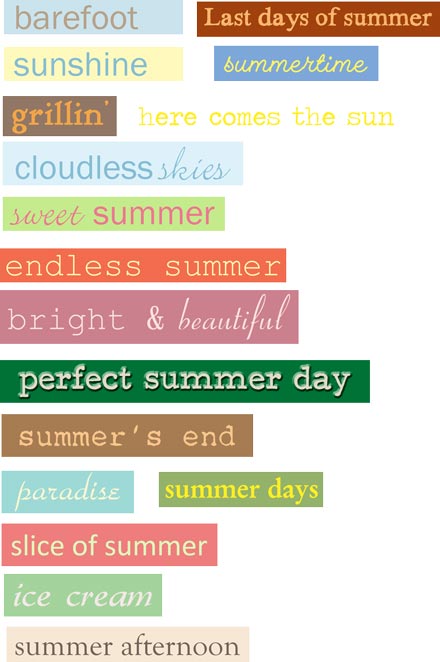
Finally, just for the fun of it, I created a sheet with word strips just for you. Since for many of us, summer is still in full swing, I made them all summer related, and hope you may find some use for them!
(They will come in full .png quality, not like the low resolution preview you see here!)


