December 1st is at hand, and for many of us this means embarking on a new journey with the December Daily project. I started a huge hybrid album last year which isn’t anywhere near finished (and I don’t see myself finishing it this year as I’m far too busy with real life at the moment), so for this season, I decided to take a simpler approach. I’m creating a digital album.
Simplicity Is Key
The goal for most of us is to keep things simple, and yet to create albums that we’ll enjoy looking at even years from now. I already started my 2011 project last week, and I’m quite pleased with the outcome. But before I started, I sat down and thought through a couple of things that now prove to be very helpful as I’m further into the project, and I thought I’d share some of these considerations with you …
TIP NO. 1 | Choosing the Right Format
Choosing a format for your project is one key to avoid having to spend hours on each December Daily page. If you use the same format all throughout your album, you can create a basic foundation page that serves as a template, and which helps you jump start each individual page.
In my case …
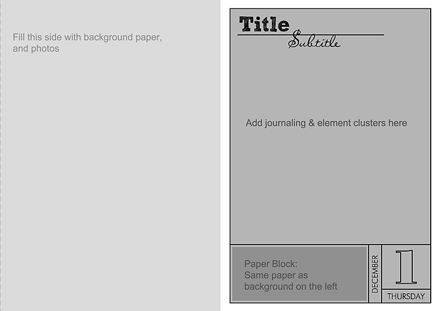
… I chose to go with the paper size A4 – as I can easily print it, and assemble it into an album afterward. I decided to divide the page into two parts – photos on the left, journaling on the right. I’m doing the same format all throughout the album, and with the help of the foundation page I use as a template, each page takes me less than an hour to create.
TIP NO. 2 | Repetition
Repetition to some seems boring, but in design, it’s actually a major principle. It’s the stabilizing component of a project that otherwise still allows a lot of room for creativity. With repetition I mean that you either choose the same format for each page (and embellishing it will give you enough variety to not get bored with the overall album), or maybe reduce the number of scrapbook kits you use for your project (lots of kits come with such a great variety of papers and elements that using them in different ways throughout the album will never get boring). Repetition also will help you save time as you don’t have to come up with new ideas each day.
In my case …
… I decided to go with the same format. I use the same few fonts for title, subtitle and journaling all throughout my project, and as mentioned above already, always put my photos on one, and my journaling on the other side of my double page spread.
TIP NO. 3 | Less Is More
Another principle that many of you probably have heard of is the “less is more” principle. Applying it to your DD-project will also help you save lots of time, and you can still create beautiful pages.
In my case …
I decided to go with just a few papers and element clusters. That is, at the most I’m using 3-4 papers (normal is about 2 – one patterned, one solid), and two clusters of embellishments on my journaling side of the double page spread. For the papers, I decided to go with the principle of repetition: I’ll use the same paper as background for my photo page and for the little paper block below my journaling.
TIP NO. 4 | Focus On One Story
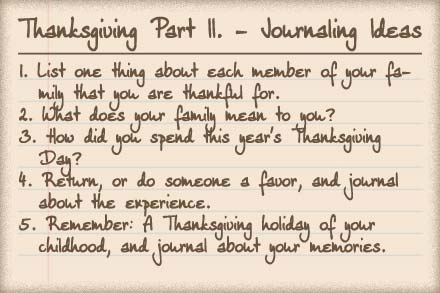
One more advice by Ali Edwards I found very useful is her focus on just one story per day. Instead of making your pages a report about every activity you did each day – which could end up a quite elaborate and time consuming task – pick just one story you want to tell. Something about that day that stood out for you. It will help you in choosing your photos, and will help you make your story telling a little more interesting.
TIP NO. 5 | Prepare Ahead
In my case, I created the foundation page template that speeds up my process a lot. Other people use templates by some designers that they choose ahead of time so they don’t have to spend much time each day to search for what templates or other supplies to use. Personally, however, I prefer to choose my supplies based on the photos for each day. This is why I kept my foundation page template so generic. It allows me to coordinate everything more easily (based on the number of photos I want to include, or the color palette that will match my photos; I find that choosing templates by the designers ahead of time, makes things more complicated for me – as I might have more/less photos I want to use that day).
A Note About Templates
Working with full-blown templates doesn’t necessarily speed up your process of creating a page.Don’t get me wrong. I love templates. I create pages for template designers, and still get excited about each new release I get to work on. But even with all the experience I have, working with page templates usually takes me twice as much time as creating my own page. That’s esp. true with elaborate page templates. So, before choosing to work with templates, take a moment to think about it: Does using templates really help you speed up your process of creating a page? If yes, then go for it. If you’re not really sure, why don’t you create your own go-to foundation page template for this year’s project? (See mine below.) It might be just what you need, and it might simplify your life a lot!
TIP NO. 6 | Stay Organized
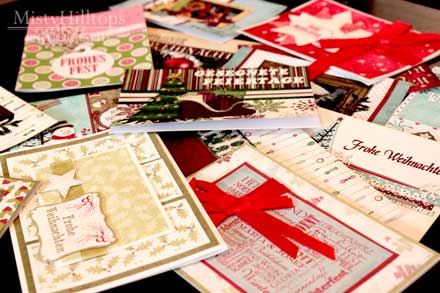
Along the same lines, I recommend you to organize your Christmas digi-supplies so that you have everything together in one place, and don’t have to spend much time searching through your digi-stash. For last year’s project already, I created my December Daily folder on my computer, in which I have the previews of all my Christmas supplies, save my pages/templates, and other things that might be needed in the process.
TIP NO. 7 | Don’t Stress
The December Daily project is supposed to be fun, not a huge extra task that you load on yourself in the already really busy holiday season. If you can’t get a page for every single day, don’t fret about it. You’ll still enjoy the pages you do get done. And I know tons of people who didn’t finish their project last year (I myself for one), and that’s ok, too.
The Foundation Page Template
 You can see, this template doesn’t have much on it at all, but it helps me a lot to jump start each page. I use this template for every page of this year’s album. It saves me a ton of time, and the pages I’ve been creating so far, are lots of fun.
Adding a Few Extras
Photo Pockets
For the photo page, I’m using Traci Reed’s 8.5×11 Slip Ins. They only need minor resizing for my A4/A5 paper size, and work perfectly to give my pages a fun twist.

Adding & Modifying Dates
Admitted, I “stole” this idea from Ali Edwards – the “mother” of the December Daily project, if I may say so. She has a set of overlays for each day of December in her store.

Working with A4/A5 size paper, however, I couldn’t use her pre-made ones, I had to make my own. Here’s a look at my photoshop canvas:
 In the layers panel (right), you can see how I already added all the week days, and since I started in November, also the names for the month. Now, all I need to do is, choose the correct day/month, add the outlined date number, delete the rest, and I’m good to go. (For a tutorial on how to create an outline of overlapping text, see yesterday’s tutorial.) If I want to change the color of my overlay, I just merge the four layers of grid, month, weekday, and date, and add a color overlay. Modifying all of this, takes me about a minute, and with this basic page format, I can finish my entire double page spread in less than an hour.
I’ve thought of offering my foundation page as a template for you, but since my page format is A4, I’m afraid it won’t work for a lot of you. (If you’d still be interested in having the foundation page template, just leave a comment, and if I can get enough people to show an interest, I’ll put it up, but without the text layers.)
Getting Inspired
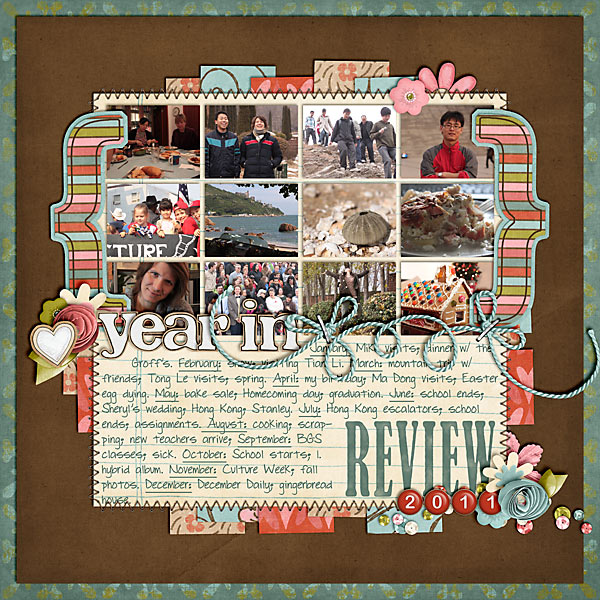
I’ll be posting my first week of the December Daily pages on Saturday (I hope), but here’s a peek of the first page of this year’s album:

Note the same patterned paper for left-side background, and right-side paper block. I added two clusters of elements in the opposing corners of my journaling page, and a few minor embellishments on the photo page.
More Inspiration
And now, all I’m left to do is hook you up with some additional inspiration.
- Ali Edwards, of course, is the first resource to go to.
- Next, you might want to do a search on pinterest (December Daily, or December Daily Inspiration will bring up a ton of results).
- The Flickr December Daily group, of course, is another great source of inspiration.
Having said all this, I wish you all a fun journey with your project – and don’t forget: With all the focus on trying to keep your memories, don’t forget to take the time and make some new ones, too!