

United in Our Difference
Credits: New Found Happiness by Sweetshoppe Designs Layered Up In You Shapes & Hearts by Lauren Grier (formerly SSD) Get Artsy: Get Textured by Traci Reed Get Artsy: Spritzed Overlays by Traci Reed Scraplift of Le Bonheur
Credits: New Found Happiness by Sweetshoppe Designs Layered Up In You Shapes & Hearts by Lauren Grier (formerly SSD) Get Artsy: Get Textured by Traci Reed Get Artsy: Spritzed Overlays by Traci Reed Scraplift of Le Bonheur

Credits: Bohemian Beauty by Sweetshoppe Designs Doodley Doo Alpha by Christy Lyle (retired) Mark the Spot Alpha by Traci Reed Font: Ck Ali’s Hand Scraplift of Right Now

Credits: I So Heart You by Jady Day Studio & Mari Koegelenberg Photo Pocket by Misty Hilltops Designs Fonts: DJB Holly Typed & DJB I Feel Happy by Darcy Baldwin
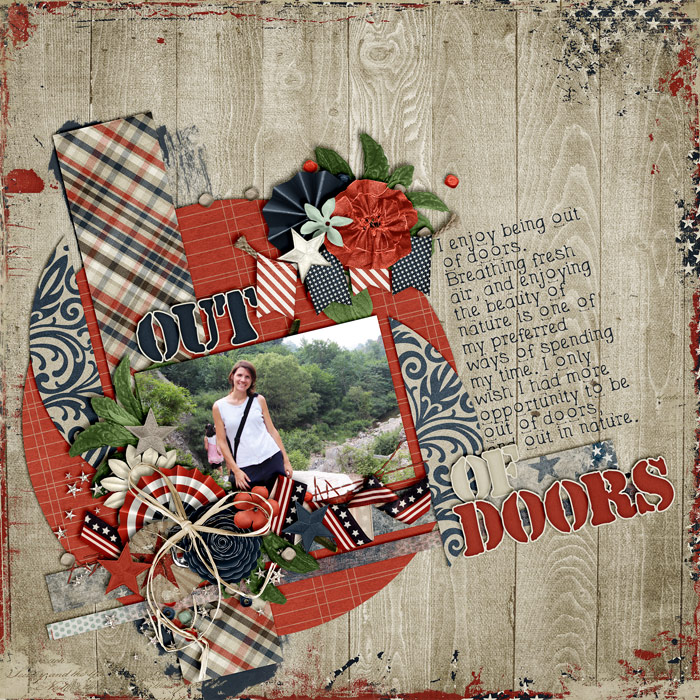
There are lots of ways how you can add dynamics to a page in order to make it visually interesting and captivating. One way of doing so is by placing things at an angle. Take a look at this page I created the other day with Libby’s new kit “We The People”: It would have just been another one of those circular layouts I’ve created lately, if it hadn’t been for the angle. The angle is what creates tension on an otherwise pretty simple page layout and composition, which makes it visually interesting. All of a sudden, the page stands out from the rest, and that is because of the angle I added. How to Add an Angle Usually, I begin by just scrapping my page, adding paper layers and clusters, my photo(s), the title, and the journaling. If you wait with rotating everything to the very end, you save yourself a lot of guessing work and having to rotate everything individually. After creating your page, simply select all the layers you want to …