
It’s time for another Do-It-Yourself tutorial, and today I thought to tell you how to make those paper bags that I used to make my advent calendar with. They are very simply to make and quite versatile to use (gift bag, advent calendar, storage, decoration, etc.).
1. You might want to hop over to the PaperCraft Art Creative website and download their template (a simple pdf file).
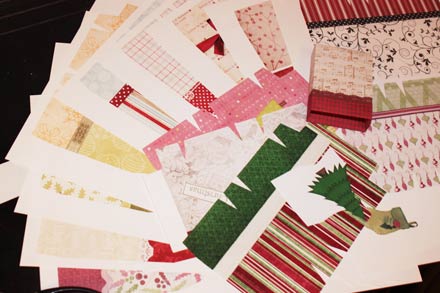
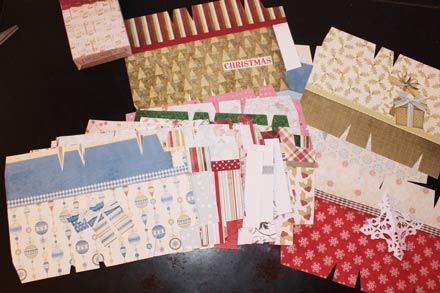
2. Open the pdf file in your Photoshop program, select the template and drag it onto a new canvas. Re-size and duplicate the template layer and start clipping papers from your digi stash to it. I used one or two papers and sometimes a ribbon to clip to the paper bag. (You might want to re-size the papers as well to make sure the patterns are in proportion to your template.) Once you’ve arranged everything to your pleasing, merge all layers.
3. Print and cut everything, then simply follow the steps of the tutorial of the PaperCraft Art Creative website. Most of it is pretty self-explanatory.

I made an advent calender, using these paper bags, so I just repeated everything 24x (advent calendars in Germany only have 24 days of counting). I printed two bags onto one A4 sheet of cardstock paper (which is just the perfect size to hold the candy). Also, I added an embellishment to the front of each bag (unless it looked great without one), and of course I added the numbers, which I had written on different tags and printed out as well. In the end, I filled my bags with treats and hung them on a string. Now my advent calendar is just part of my other Christmas decoration!


Pingback: Christmas Countdown Calendar – cookie sheets, matchboxes, toilet paper and more! « Somewhat Muddled Musings