Hinter den Kulissen: Wie man eine Photoshop Action schrittweise durchlaufen kann
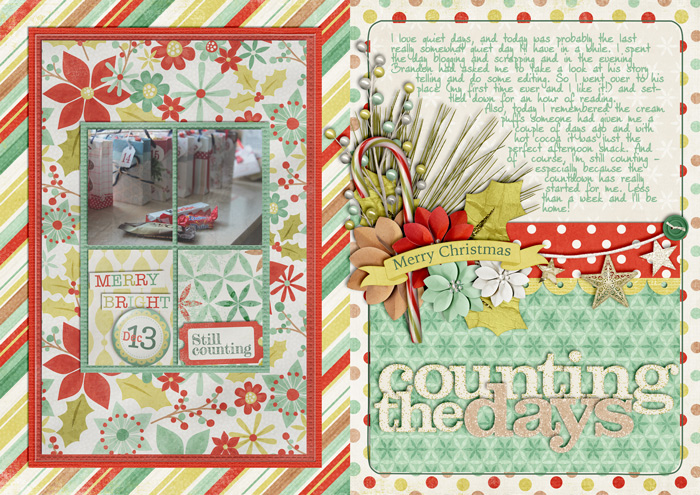
Have you ever wanted to take a Photoshop action step by step in order to stop at an earlier point? Well, the problem with Photoshop actions is that once you start them, they’ll run through till the end, and there’s no feature to walk through an action step by step. And there’s no button to allow you to play a single step, either. Exactly this, however, is what I needed a couple of days ago when I wanted to run an action by Mommyish Designs. (If you don’t know Mommyish’s Photoshop Actions and Styles yet, you’re seriously missing out. They’re not only useful for designers, but for simple scrappers as well!) Anyway, I was working on this Document Christmas page for which I wanted to create a simple doodled outline.
Seid ihr jemals an dem Punkt gewesen, wo ihr euch gewünscht hättet, eine Photoshop Action zu einem früheren als dem offiziell dafür vorgesehenen Zeitpunkt zu beenden? Das Problem bei Photoshop Actions ist, dass wenn man sie einmal startet, sie bis zum Ende durchlaufen und es gibt keine Möglichkeit, die Action Schritt für Schritt zu nehmen. Und man kann auch nirgendwo wählen, nur einen einzelnen Schritt abzuspielen. Genau das aber wollte ich vor ein paar Tagen machen, als ich mit einer Action von Mommyish Designs herumgespielt habe. (Wenn ihr die Stile und Actions von Mommyish Designs noch nicht kennt, verpasst ihr wirklich etwas. Sie sind nicht nur unheimlich hilfreich für Designer, sondern auch für einfache Scrapper.) Jedenfalls habe ich gerade an einer Seite für mein Weihnachtsalbum gearbeitet und wollte einen gezeichneten Umriss dafür herstellen.
I even have a great action to do this, except that the doodles are quite elaborate and when looking at the details of this action, I noticed that throughout the creation process, the doodles were on separate layers. All I needed to do was, get to the point where the simplest of all doodle layers was created and stop the action there. Except that: On my computer the actions race through and are done in 1-2 seconds. That’s great if you want to quickly apply an entire action. But if you only want part of it, there’s no way to even be able to click the stop button in time, much less stop the action in the right place. But I googled a little and quickly found exactly what I was looking for: a way to walk through the action one step at a time. And the good news: There’s a super easy way to do that. So easy, that in fact I think it’s worth sharing this little trick with you here.
Ich habe sogar eine tolle Action, die das automatisch tun kann, allerdings ist mir in manchen Fällen zu viel Gekrakel dabei. Aber als ich mir dann die Action im Detail ansah, habe ich bemerkt, dass die Zeichnungen jeweils auf eigenen Ebenen erstellt wurden. Ich musste also nur bis zu dem Punkt kommen, wo die einfachste Zeichnung erstellt wird und die Action dann dort anhalten. Das Problem: Auf meinem Computer rasen die Actions nur so durch und sind schon nach 1-2 Sekunden fertig. Das ist gut, wenn man schnell eine Action voll anwenden möchte. Aber wenn man nur einen Teil von der Action verwenden möchte, hat man keine Zeit, sie vorher anzuhalten, geschweige denn, sie an der richtigen Stelle anzuhalten. Also hab ich schnell mal gegoogelt und siehe da: Es gibt einen Weg, eine Action Schritt für Schritt zu durchlaufen. Und das Gute dabei: Es geht voll einfach; so einfach, dass ich dachte, das muss ich doch glatt mit euch teilen.
Here’s how it works:
Und so gehts:
To Play a single step in an action, all you need to do is hold down your Ctrl (Win) / Command (Mac) key on your keyboard and double-click on the step in the Actions palette. This will play the step you double-clicked on and advance you to the next step in the Actions palette. Simple as that. Keep repeating this until you get to the point where you want your action to stop. (Technically, you could even start in the middle of the Actions palette; the only problem with that is when the action is creating something as point of reference this reference point would be missing and subsequent steps wouldn’t work well. So, I still recommend to start an action from the very beginning and keep double clicking it with the help of your Ctrl/Command key.)
Um in einer Action einen einzelnen Schritt abzuspielen, müsst ihr nur die Steuerung (Win) / Command (Mac) Taste drücken und auf den jeweiligen Schritt in der Actions Palette doppelklicken. Damit spielt ihr dann den einzelnen Schritt und landet auf dem nächsten Schritt in der Actions Palette. Das war’s schon! Wiederholt einfach diesen Vorgang bis ihr an die Stelle in der Action kommt, wo ihr anhalten wollt. (Prinzipiell könntet ihr auch bei einem Schritt in der Mitte der Actions Palette anfangen; das Problem hierbei ist allerdings, wenn die Action ein neues Element kreiert, auf das sie dann aufbaut. Wenn dieses Element fehlt, dann klappts auch nicht mit den nachfolgenden Schritten. Also empfehle ich euch die Action immer vom Anfang zu spielen und euch mit der Hilfe der Steuerung/Command Taste bis zum gewünschten Punkt in der Action durchzuklicken.)
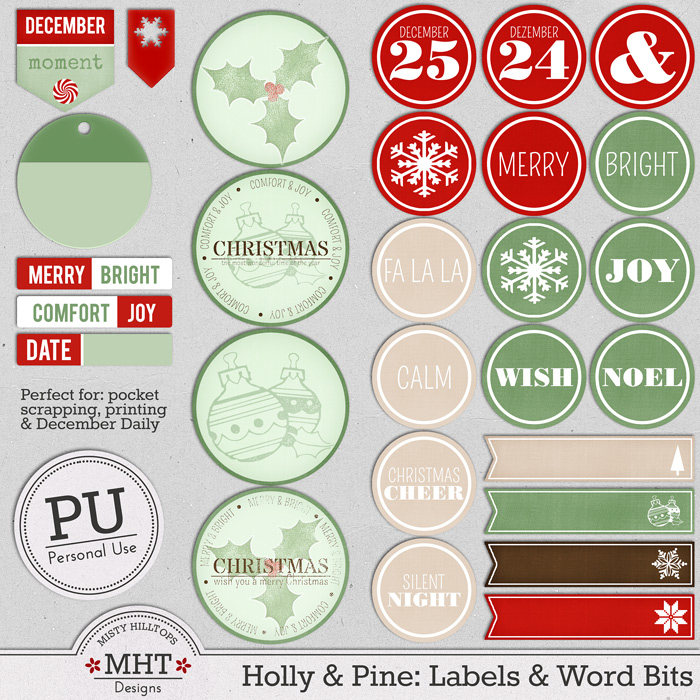
By the way, I promised you last week to share a link to the next installment of my the Holly & Pine Holiday Collection a little earlier, so, today is the day! I only ask you to respect my Terms of Use and hope you’re having fun with this.
Übrigens hatte ich euch letzte Woche versprochen, den Link zum nächsten Teil meiner Holly und Pine Weihnachtskollektion ein wenig früher mit euch zu teilen und heute ist es soweit. Ich möchte euch nur bitten, meine Nutzungsbedingungen zu respektieren und hoffe, ihr habt hiermit Spass.


These are awesome! When you use labels, I think it really seem to finish the page. Thank you for all of your hard work, and for sharing all these goodies with me!
Thanks, again! Love the kit!
I’ve never used a PS action, as I’m just starting to get familiar with PSE. Will this step-by-step process work in PSE as well? Someday, I hope to have time to try out some of the tutorials I have found on the web. Most are for PS, so I get a little confused when trying to see if the same thing works in PSE. But I keep plugging away & I’m learning new techniques all the time. Thanks for the labels & word bits! 🙂
Not sure if it works with PSE. It might be worth trying for you.
Edit: My sister informs me that you don’t even have to use command/control to do this. Simply double click on the step you want to take.
Nachtrag: Meine Schwester informiert mich, dass man nicht einmal Command/Steuerung verwenden muss. Einfach auf den jeweiligen Schritt doppelt klicken sollte das gleiche Ergebnis erzielen.