
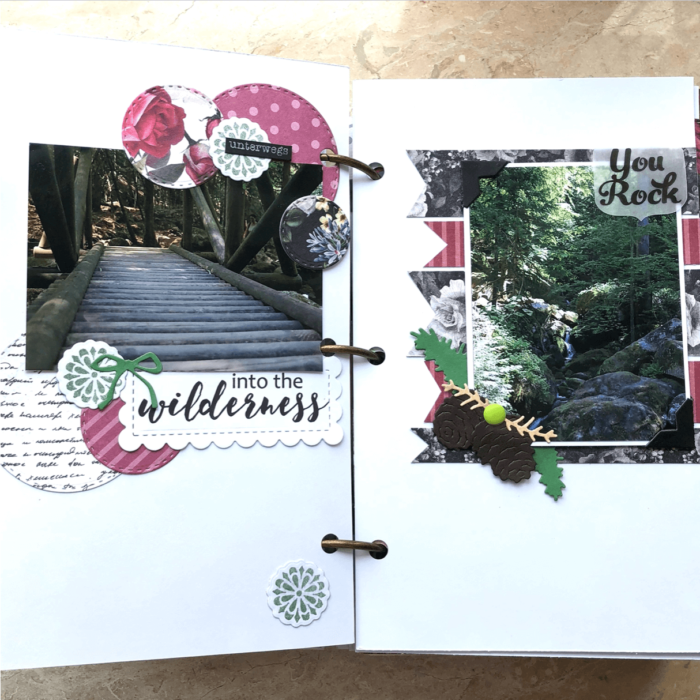
Into the Wilderness
Credits:Designpad Florals by Craft SensationsDie cuts & stamps Anzeige (Enthält Produktempfehlung) / Advertisement (Contains product recommendation)
Credits:Designpad Florals by Craft SensationsDie cuts & stamps Anzeige (Enthält Produktempfehlung) / Advertisement (Contains product recommendation)

Credits:Designpad Florals by Craft SensationsDie cuts & stamps Anzeige (Enthält Produktempfehlung) / Advertisement (Contains product recommendation)
Credits:Designpad Florals by Craft SensationsDie cuts & stamps Anzeige (Enthält Produktempfehlung) / Advertisement (Contains product recommendation)
Credits:Designpad Floral by Craft SensationsDie cuts & stamps Anzeige (Enthält Produktempfehlung) / Advertisement (Contains product recommendation)
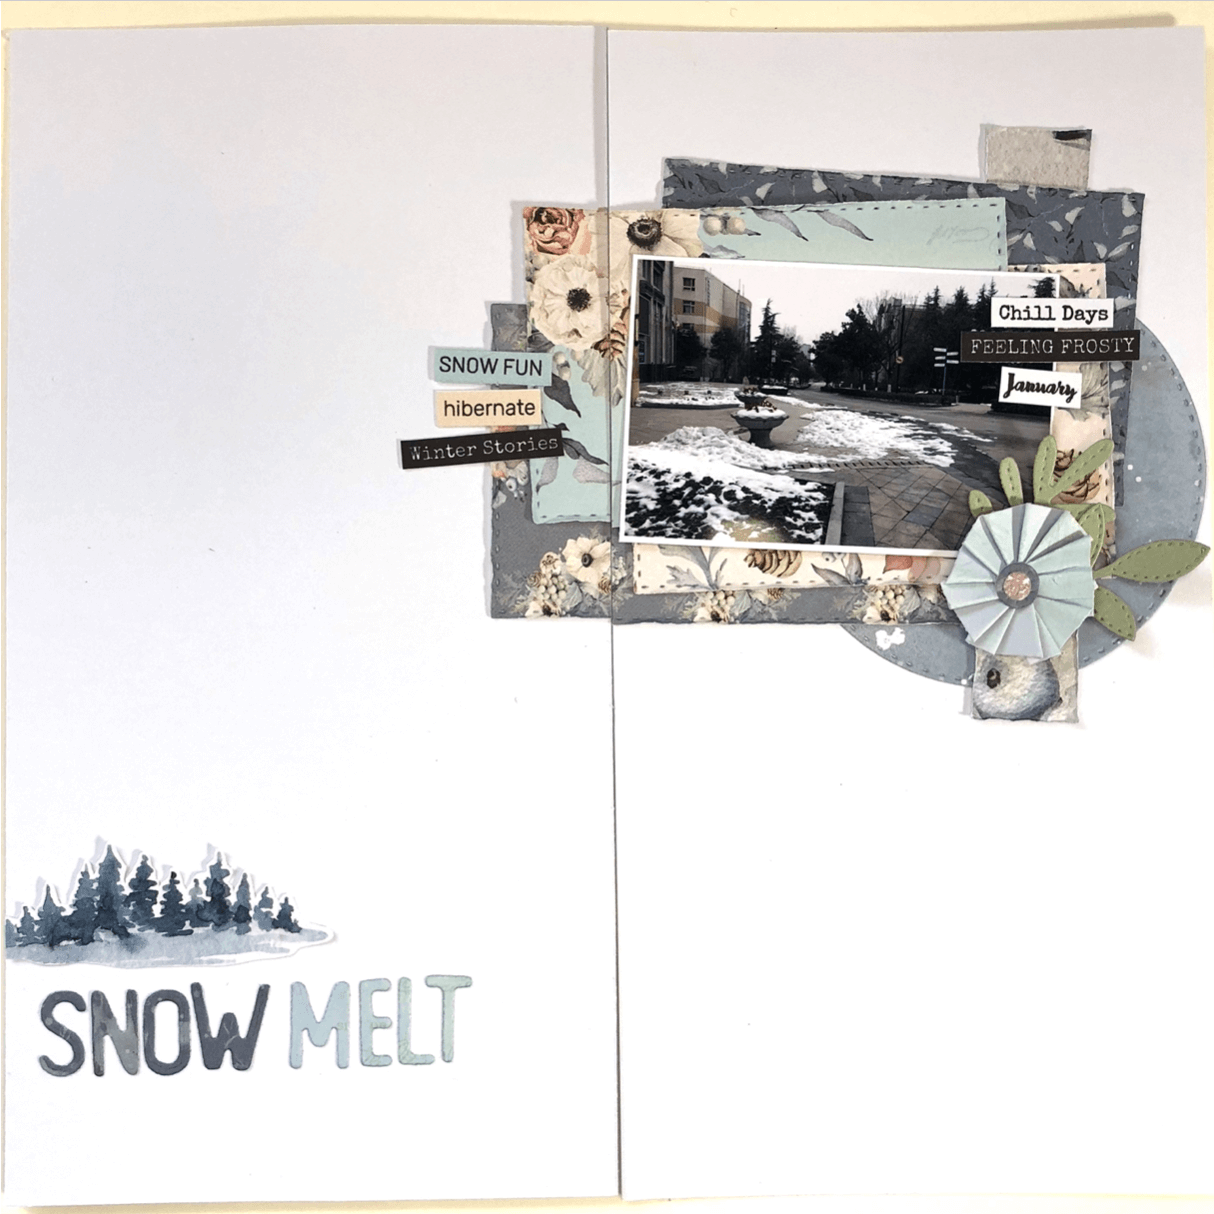
Anzeige (Enthält Produktempfehlung) / Advertisement (Contains product endorsement) EnglishThis is the last page of my traveler’s notebook album Winter 2022, using the paper pack “Winter Forest.” For this one I used the same rectangle die cut four times and arranged the same-sized papers in such a way that they all would be visible somehow. Behind it all I placed a die cut circle and another paper strip, and the wintery word strips that I’ve been using. These word strips will soon become available as freebie. So, keep checking what’s coming. The flower I pleated myself following the instructions I found by Treasure Books on Youtube, here: https://www.youtube.com/watch?v=zD8Sl9MgC3o. For the title, I used two different patterned papers and one of my die cut sets. And I cut another scenery from one of the papers to go with the title. Here is a video that shows the process of making this page: DeutschDies ist die letzte Seite meines Winter 2022 Traveler’s Notebook Albums, bei dem ich das Papierpack “Winter Forest” verwendet habe. Für diese Seite habe ich …

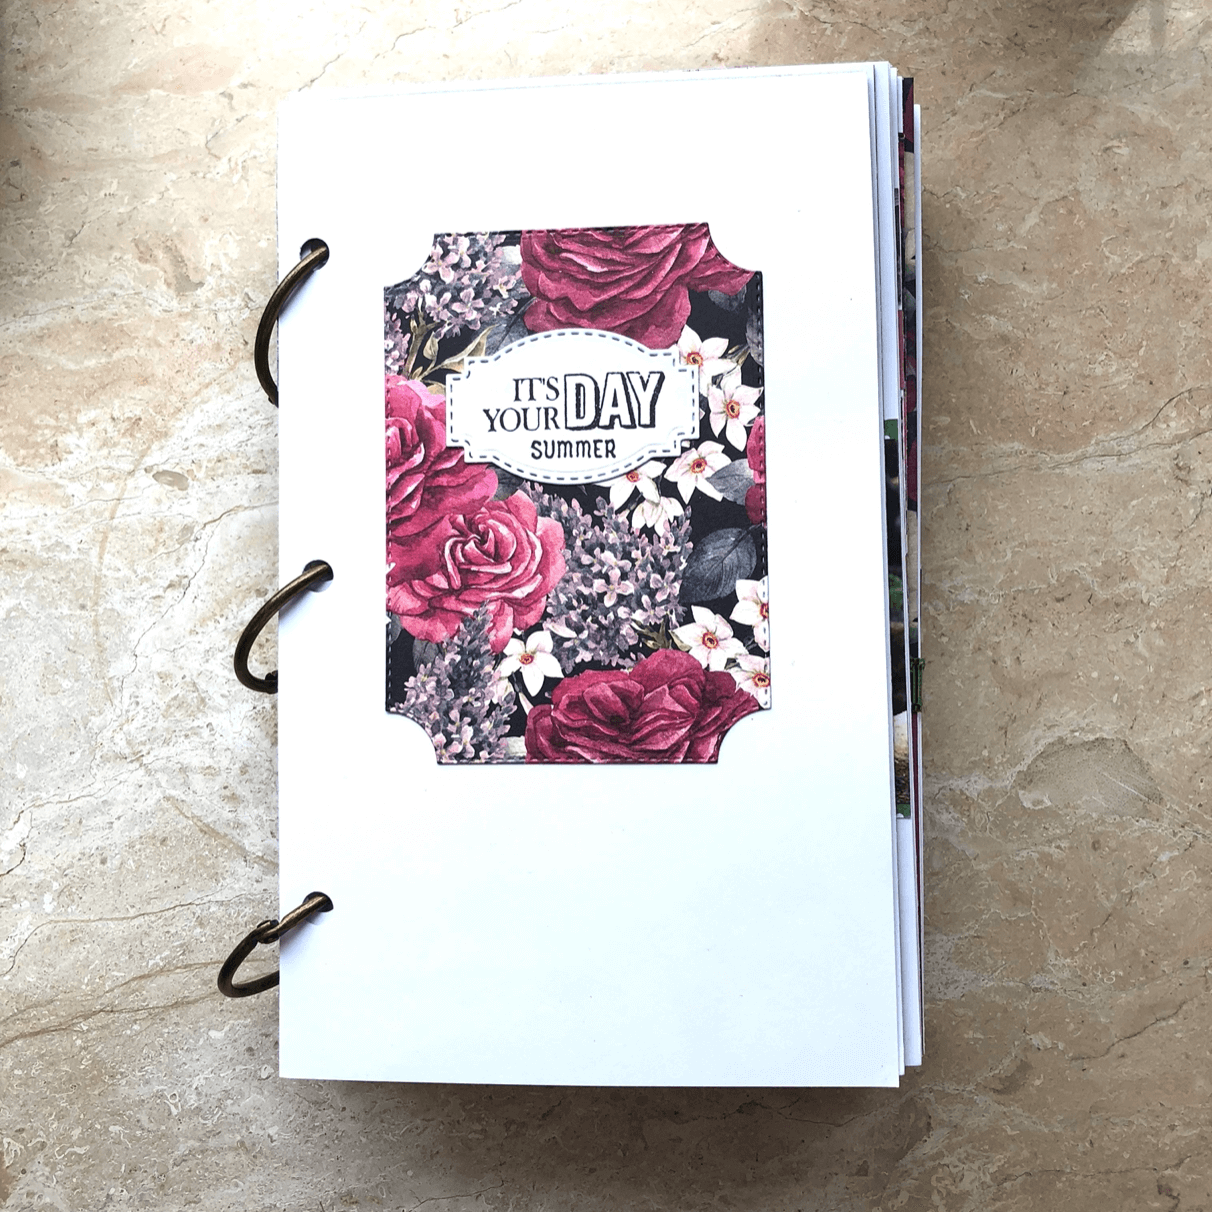
Anzeige (Enthält Produktempfehlung) / Advertisement (Contains product endorsement) EnglishMy winter album is done, and I made an album cover, the process of which I’m sharing with you today. DeutschMein Winter Album ist fertig, und ich habe die Vorderseite des Albums gemacht. Hier könnt ihr euch ansehen, wie das entstanden ist: Another picture: Noch ein Bild: You can see the finished album here: Das fertige Album könnt ihr euch hier ansehen:

Anzeige (Enthält Produktempfehlung) / Advertisement (Contains product endorsement) EnglishI’m ready to share with you my next layout. For this one, I used my die cuts to cut a number of circles. The large dotted circle, I simply cut in half and used both halves on the page. One of the papers from the paper pack “Winter Forest” came with lots of little winter scenes. I made sure when I cut those, to have those scenes be the focal points of the smaller circles. Also, while I didn’t use circles on the right side of the page where I put the larger square photo, I repeated the circle them, by adding a round frame, to tie the two sides together. For the title I watercolored a strip of card stock and used two of my die cut sets to cut the words. You can watch a process video of how I put this page together here: DeutschEs gibt ein neues Layout, das ich mit euch teilen möchte. Für dieses Layout habe ich mit meinen Stanzen ein …

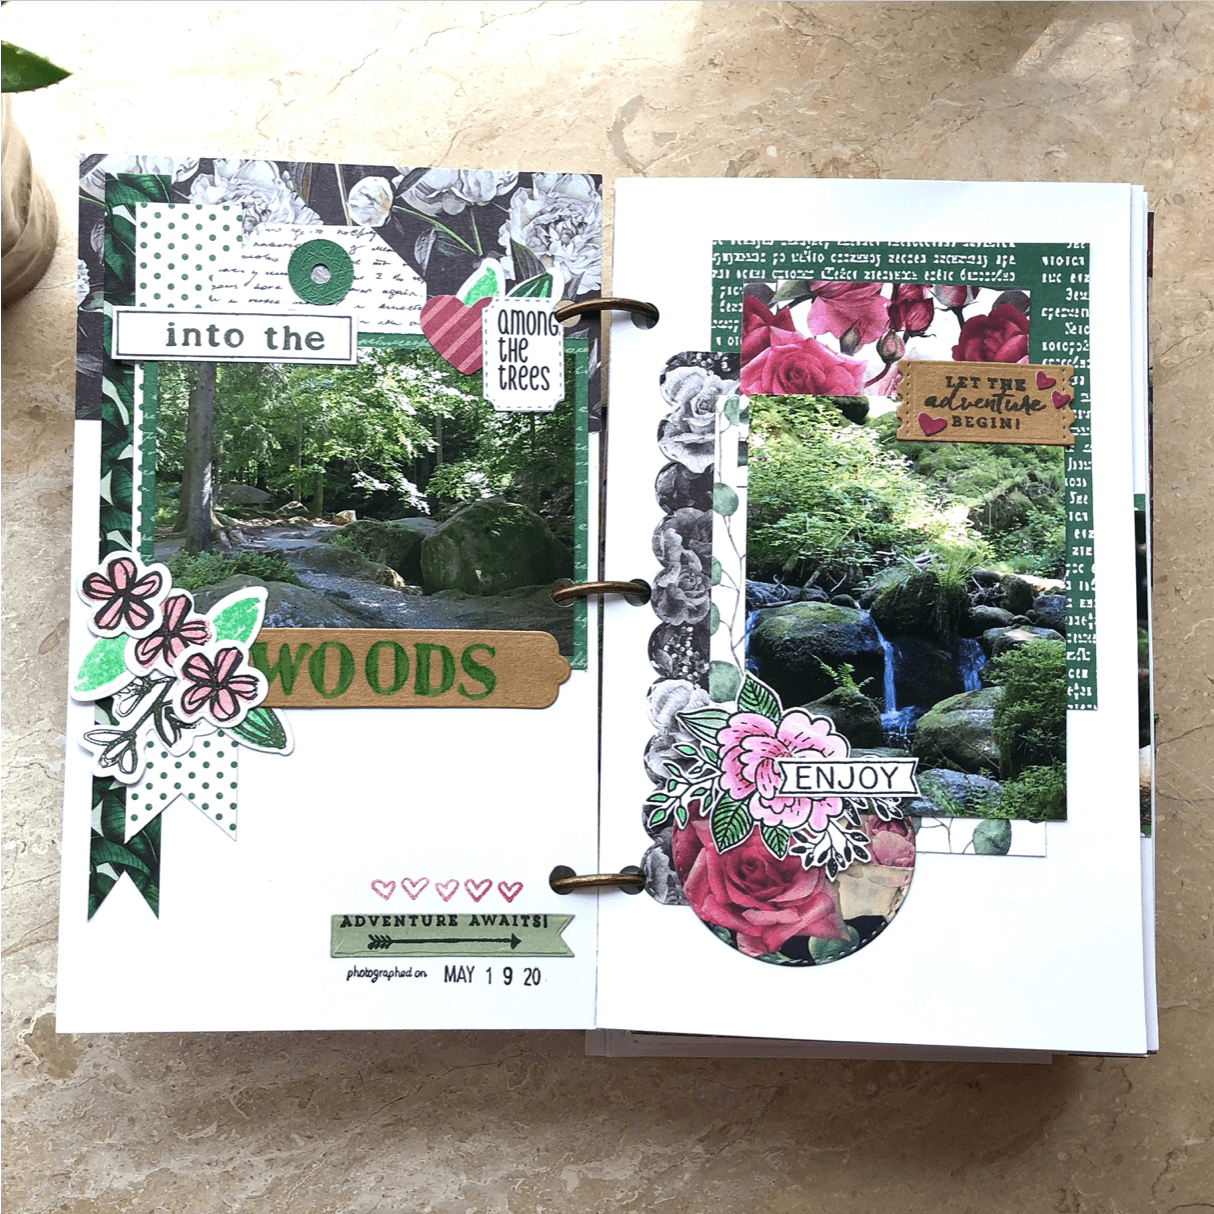
Anzeige (Enthält Produktempfehlung) / Advertisement (Contains product recommendation) EnglishHey you guys! I have another layout to share with you, and this one was a lot of fun to create. I wanted to create a layout that goes across the two pages of the TN spread. But as with the previous layouts, the paper pack “Winter Forest” that I’m using isn’t large enough. I solved the problem, by arranging the photos to the left of the page, and pretending the paper continues behind the photos. Which it doesn’t. It ends just where it’s tucked underneath the large square. But before I glued the papers and photos down, I prepped the page by painting it with water color – about where I knew the paper strip would end. After the watercolor dried, I put down the paper strip, which has a beautiful motif of a wintery forest scenery. I also stamped and colored, and fussy cut this little winter cabin on card stock, that I then placed on the strip of paper, so that it would be …

Anzeige (Enthält Produktempfehlung) / Advertisement (Contains product recommendation) EnglishHere comes my next traveler’s notebook spread. For this one, I ventured out a little. I wanted to use a design that spreads from the top of the page to the bottom. But the problem: TN sizes are 8 1/4 inches tall, but my paper pack “Winter Forest” is only 6×6 inches. So, I got a little creative. I have this washi tape that I used to create that border on the left side of the layout. Then I went ahead and added the papers, photos and die cuts. The little set of hat and mittens are stamps that I fussy cut and left uncolored. Lastly, I added the word strips, and the title, which I stamped and then fussy cut. You can watch a process video of how I put this page together here: DeutschHier kommt meine nächste Seite. Für diese habe ich mal was Neues probiert. Ich wollte mal ein Design verwenden, das über die ganze Seite geht. Das Problem: TN Seiten sind 21 cm …
Credits:Winter Forest paper packDie cuts & stamps Anzeige (Enthält Produktempfehlung) / Advertisement (Contains product recommendation)