All posts tagged: stamping

Traveler’s Notebook: Wild at Heart & Find Your Adventure

Anzeige (Enthält Produktempfehlung) / Advertisement (Contains product endorsement) English Here are two more pages that I created for the album “One Day in Summer” using the design paper pad “Florals” by Craft Sensations. For the first page, I really wanted to use the beautiful floral paper in a way that it would get attention. So I put a strip down the right side. Then I stamped the flower, die cut it together with the leaves, colored it, and added that with the other pieces. I also stamped a doily on the background. The hearts I die cut, and I used two strips of washi tape. DeutschHier sind zwei weitere Seiten, die ich für das Album “Ein Sommertag” erstellt habe, und dabei das Designerpapier “Florals” von Craft Sensations verwendet habe. Für die erste Seite wollte ich das schöne Blütenpapier zur Geltung bringen. So habe ich einen Streifen davon auf der rechten Seite angebracht. Dann habe ich die Blume gestempelt, mit den Blättern zusammen ausgestanzt, angemalt, und das mit den weiteren Elementen zur Seite hinzugefügt. Im Hintergrund …

Traveler’s Notebook Layout: Mountain & Trails

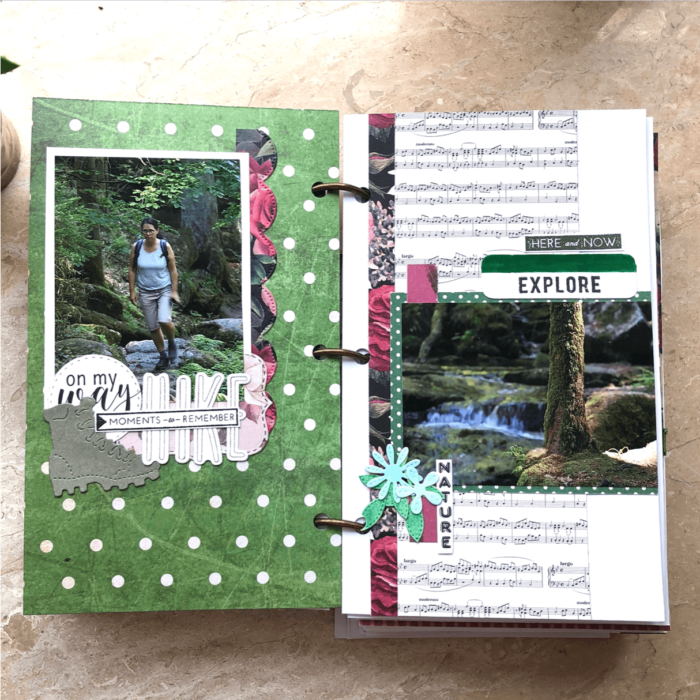
Anzeige (Enthält Produktempfehlung) / Advertisement (Contains product endorsement) EnglishI have two more pages to share with you. The first one was done mainly with die cuts, and the word bits that I created, printed, and then die cut as well. DeutschIch habe zwei weitere Seiten für euch. Die erste Seite besteht hauptsächlich aus gestanzten Elementen und den Wortteilen, die ich zusammengestellt, gedruckt und dann ebenfalls gestanzt habe. For the second page I used one of my hexagon die cuts to cut shapes from many of the papers that come with the pack Florals by Craft Sensations. Then I arranged them around the page together with all the other parts. Those include a die cut backpack, a flower that I stamped, colored, and fussy cut, and more word bits.. Für die zweite Seite habe ich eine meiner Hexagonstanzen verwendet, und von den verschiedenen Papieren im Block Florals von Craft Sensations die Form ausgestanzt. Dann habe ich alles mit den anderen Elementen zusammen angeordnet. Die anderen Elemente beinhalten den gestanzten Rucksack, die gestempelte Blume, die ich ausgemalt …

Traveler’s Notebook Layout: Drink in Fresh Air

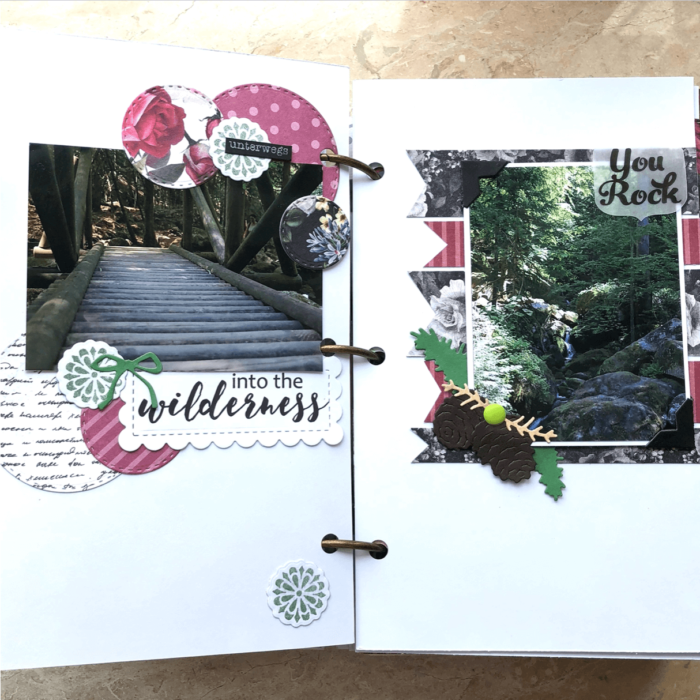
Anzeige (Enthält Produktempfehlung) / Advertisement (Contains product endorsement) EnglishYesterday I began sharing the pages of another traveler’s notebook, in which I scrapped about one day in the summer of 2020 when my sister took me on a little outing – first a little hike to the Black Forest, then to a castle in the Rhine river valley, the name of which I forgot. The pages of this album document that day. I used two paper pads by Craft Sensations. And the one used on these pages is called Florals. But as these paper pads doesn’t come with ephemera, I had to create all embellishments myself for each page. On the first layout, I’m using a layered stamp for which different shades of the same color ink are used to get a beautiful rose. DeutschGestern habe ich angefangen, die Seiten eines weiteren Traveler’s Notebooks zu teilen, in dem ich einen Tag im Sommer 2020 festgehalten habe. Meine Schwester hat mich zu einem Ausflug in den Schwarzwald mitgenommen – zuerst eine kleine Wanderung im Schwarzwald, dann in …

Traveler’s Notebook Album: Winter 2022

Anzeige (Enthält Produktempfehlung) / Advertisement (Contains product endorsement) EnglishI finished my traveler’s notebook album Winter 2022, and here is a flip through of the entire project: DeutschIch habe mein Traveler’s Notebook Album Winter 2022 fertiggestellt, und hier könnt ihr euch das fertige Album ansehen: Here is also the play list of the process videos I made that shows you the making of of a number of pages from this album: Hier ist auch eine Playlist all der Videos, in denen ich zeige, wie einzelne Seiten des Albums entstehen:

Traveler’s Notebook Layout: Winter Walk

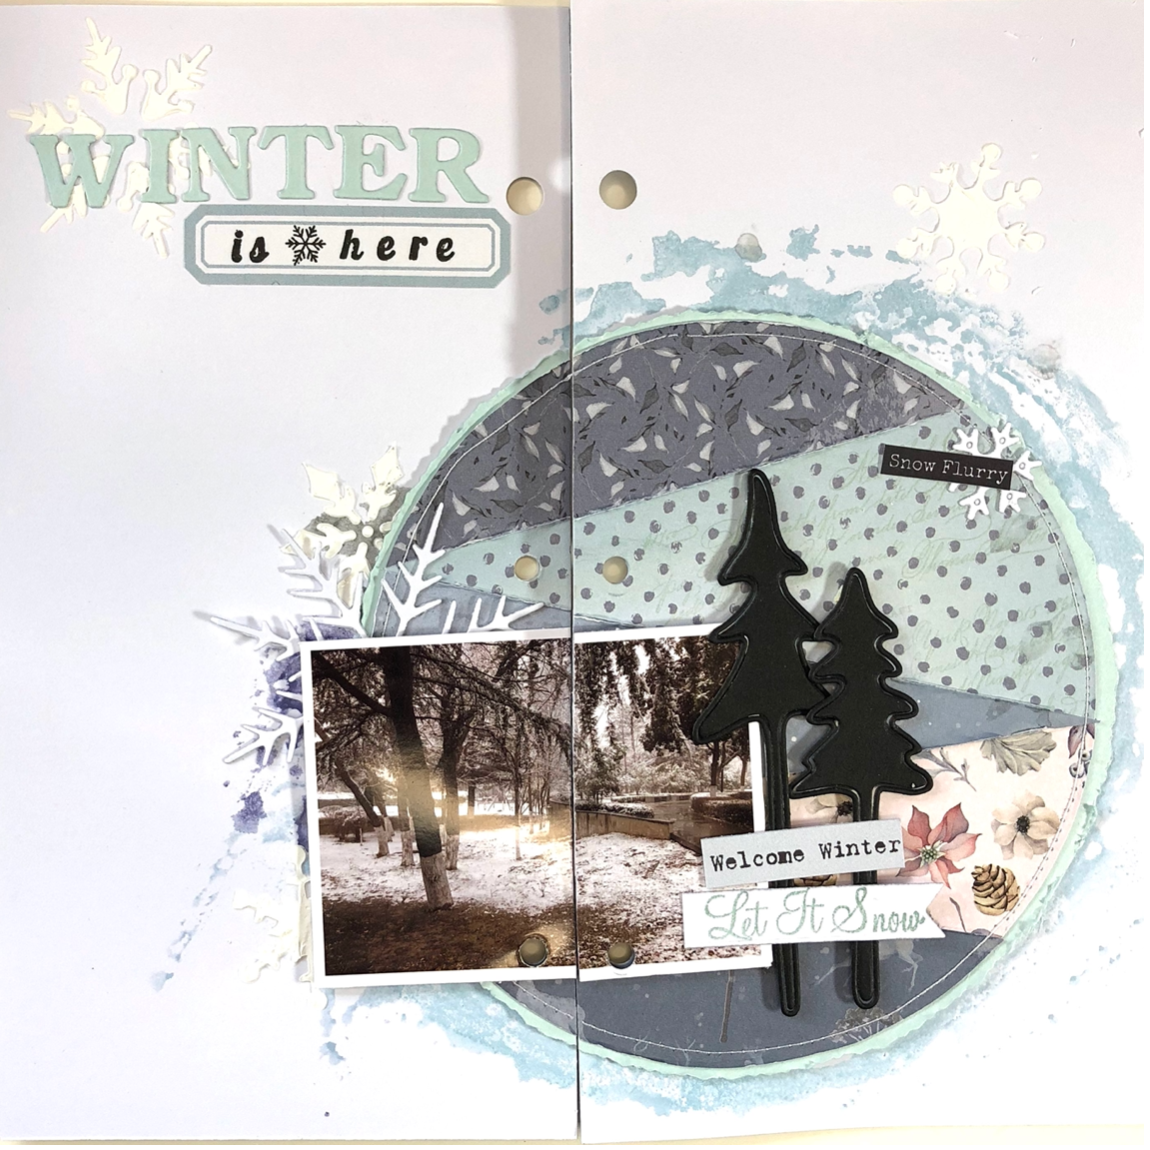
Anzeige (Enthält Produktempfehlung) / Advertisement (Contains product endorsement) EnglishI’m ready to share with you my next layout. For this one, I used my die cuts to cut a number of circles. The large dotted circle, I simply cut in half and used both halves on the page. One of the papers from the paper pack “Winter Forest” came with lots of little winter scenes. I made sure when I cut those, to have those scenes be the focal points of the smaller circles. Also, while I didn’t use circles on the right side of the page where I put the larger square photo, I repeated the circle them, by adding a round frame, to tie the two sides together. For the title I watercolored a strip of card stock and used two of my die cut sets to cut the words. You can watch a process video of how I put this page together here: DeutschEs gibt ein neues Layout, das ich mit euch teilen möchte. Für dieses Layout habe ich mit meinen Stanzen ein …

Traveler’s Notebook Layout: Winter Eve

Anzeige (Enthält Produktempfehlung) / Advertisement (Contains product recommendation) EnglishHey you guys! I have another layout to share with you, and this one was a lot of fun to create. I wanted to create a layout that goes across the two pages of the TN spread. But as with the previous layouts, the paper pack “Winter Forest” that I’m using isn’t large enough. I solved the problem, by arranging the photos to the left of the page, and pretending the paper continues behind the photos. Which it doesn’t. It ends just where it’s tucked underneath the large square. But before I glued the papers and photos down, I prepped the page by painting it with water color – about where I knew the paper strip would end. After the watercolor dried, I put down the paper strip, which has a beautiful motif of a wintery forest scenery. I also stamped and colored, and fussy cut this little winter cabin on card stock, that I then placed on the strip of paper, so that it would be …

Traveler’s Notebook Layout: Wonderful Times

Anzeige (Enthält Produktempfehlung) / Advertisement (Contains product recommendation) EnglishHere comes my next traveler’s notebook spread. For this one, I ventured out a little. I wanted to use a design that spreads from the top of the page to the bottom. But the problem: TN sizes are 8 1/4 inches tall, but my paper pack “Winter Forest” is only 6×6 inches. So, I got a little creative. I have this washi tape that I used to create that border on the left side of the layout. Then I went ahead and added the papers, photos and die cuts. The little set of hat and mittens are stamps that I fussy cut and left uncolored. Lastly, I added the word strips, and the title, which I stamped and then fussy cut. You can watch a process video of how I put this page together here: DeutschHier kommt meine nächste Seite. Für diese habe ich mal was Neues probiert. Ich wollte mal ein Design verwenden, das über die ganze Seite geht. Das Problem: TN Seiten sind 21 cm …