All posts tagged: scrapbook

Behind the Scenes: Creating Paper Pockets

Alright, friends of the digital scrapbooking business, if you remember well, then you’ll remember that I promised you the other day to show you how to create pockets like the ones on the Project Life layout I shared with you the other day. This one: It’s actually a fairly simple process, and doesn’t require much skill at all. Soooo …   Here’s How it Works Step 1 | Create a Rectangle On your canvas, add a new layer to your Layers Panel (windows key + shift + N – on my computer), and activate the Rectangle Tool (shortcut U). Draw a rectangle of the size you desire, and rasterize it (right click on the rectangle layer in the Layers Panel and choose Rasterize Layer from the options you are given). Step 2 | Create a Circle Now, you want your pocket to look like a pocket (of course, or else it wouldn’t be a pocket), so for that you want a little semi-circle to be cut out from your shape. Similarly as in step one, …
Journaling Café: Journal Pages

It’s journaling hour here in my little Digiscrap Corner, but today, I got something special for you. Something a little out of the ordinary. But don’t worry (for those journalers among you), you’ll still get a ton of inspiration out of what I’m going to share with you. Have you ever heard of “Grace is Overrated”? It’s a website by some awesome gal who came up with an amazing idea of creating journaling pages. Something like this:  You can easily find her pages on her website (for download and print, in colored/embellished versions, or simple and plain). And what’s best of all, you can use her pages as inspiration for your websites. I for one, took inspiration from the prompts in the middle section of the page above, the section called “Moving ever forward.” And see what I did with it on one of my scrapbook pages … Anyhow, if you’ve never heard of Overrated Grace, then could be time for you to discover some gems!

P2D Inspiration: Things I Love

Uff, with Christmas season and the December Daily, it’s been a while for me since I last posted some p2d inspiration. But for today’s post, I found a nifty little website with tons of inspiration; and sketches, too. So, while my page today isn’t really based off a finished layout, it’s still coming from the traditional side of scrapbooking. Here’s the sketch from Scrap Friends:     And here’s the page I whipped up based on it. I used a valentine themed kit to scrap about things I love to do.      

digital scrapbooking freebie, Misty Hilltops Designs

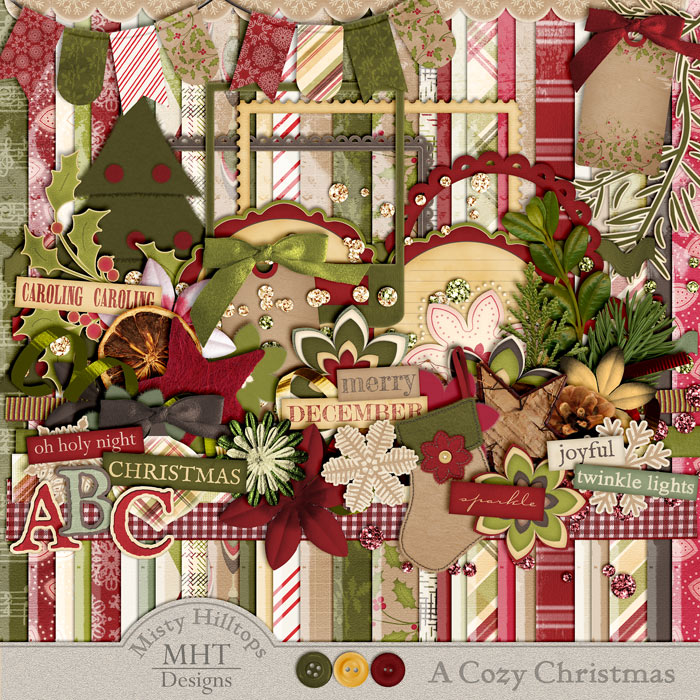
Freebie Friday: A Cozy Christmas – Part 4

Part 4 of the kit “A Cozy Christmas” is ready for download. Sorry, things are always late.     Anyhow, you should be able to click on the image to download. And I’m double checking to make sure the links work. If you had trouble downloading part 3 last week, keep trying. I checked the links, and there was nothing wrong with them, and in my file index I can see that people have been downloading. So, keep trying, and I really hope it’ll work. The last part of this kit will follow soon, and I’m well into my next kit – a winter themed little thing. Anyhow, don’t forget that products you download from mistyhilltops.com are for personal use only, and if you’d like to share them with others, simply send them this way. As always, happy scrapping!

Inspire Me: mummytothree

It’s been a long while since I featured an inspirational scrapper the last time, and so today, I want to introduce you to another amazing scrapper who has provided great inspiration to me over the time: mummytothree. Her scrapping style is quite versatile, and she is one of those people who still can whip up amazing page designs without the use of a template. So, if you’re ever in need of some ideas for your own scrapbook pages, don’t forget to check out mummytothree’s gallery.

Behind the Scenes: Creating Dashed Lines in Photoshop

Stitches always make a good impression on any scrapbooking page. Lots of designers create awesome stitches which they sell in their stores (just check Traci Reed’s sewing line over at sweetshoppedesigns.com, if you don’t know what I’m talking about), but it’s actually not that hard to create similar effects on your own in Photoshop. All you need for starters is a dashed line, and today, I’m going to show you how to create dashed lines in just seconds! All you need to do is, create a new layer (windows key + shift + n), and then use a brush.   Here’s How It Works Open your Brush menu. In the Brush palette, choose a default round, hard brush. Now, change the roundness to something like 15%, and the spacing to whatever parameter you prefer (for the stitched line above, I used 650%).   Draw your line. To add more texture to your dashed line, you could add a style, and that’s pretty much it. Take a look at this P365 layout that I created the …