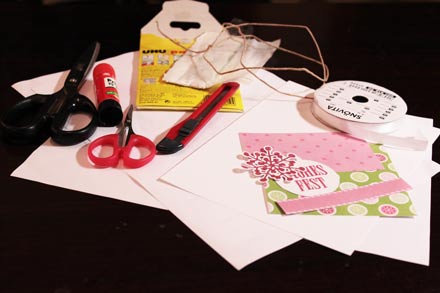
Christmas is fast approaching, but it’s still time to get those Christmas cards out, so today I’ll bring you another how to on creating your own Christmas card.
First, as always, we need to create the card (with all the mats, background papers and embellishments) in our graphic program. This card is a rather simple one, so it only has five printable parts to it: Two background mats, the base for the ribbon, the label and the snowflake. I also used a white ribbon and a piece of string.
After creating and arranging the different mats and elements in photoshop, I open a new canvas where I drag and drop everything and arrange it for printing. (Always make sure on the printing canvas to have nothing overlap!)

Once I’ve printed everything, cutting and assembling starts. I use white cardstock (size A5) for the base layer, fold it in half and begin to adhere the two background mats on there. The order doesn’t matter, because the ribbon will cover where the two will overlap.

I measure a piece of ribbon and fix it to the pink printed ribbon base. This I attach to the background right there where the two mats overlap.
I use string to hang the label with the sentiment and with white take attach it to the back of the snowflake. The snowflake I finally adhere on the ribbon, and there we have another pretty Christmas card!


