Happy Thanksgiving, fellow digi-scrappers!
It’s time for the next round of our Do-It-Yourself tutorial. And since the Christmas season is right around the corner (I just realized that in some places around the world, the 1. Advent will be celebrated this Sunday), I’m going to show you how to make another Christmas card.

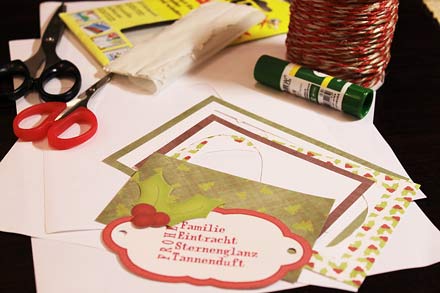
This week’s Christmas card comes with seven parts: 2 background papers (for the base), 2 mats, 1 label, 1 embellishment, 1 string. You also will need glue (I prefer glue sticks), white tac, and scissors.
1. Choose the papers and embellishments that you want to work with. My choice for this card was “All That’s Timeless” by Traci Reed and Meghan Mullens (available at SSD).
2. In your graphics program (I use Photoshop), open a new canvas the size of what the card will be (mine will be A6).
3. Now, with the shape tool (set to rectangle) I create four rectangles of different sizes, each on its own layer. The largest will cover the entire canvas and is the background, on top of that another rectangle that is slightly smaller, the next one will be quite a bit smaller and then another one that will only be a bit smaller again. Clip your papers to each of these shapes and merge each set of clipped layers (you should be down to 4 layers again, after you’ve done this).
4. Choose a label from your stash, drag it onto your canvas and re-size it so that it’s a bit smaller than the smallest mat (top layer). If you want to use a font, write a sentiment on the label, and merge the text layer with the label, or you can leave the label blank and handwrite a sentiment later. It’s up to you. Also pick an embellishment and place it in one of the corners of your smallest mat (on top of the label). Re-size, if necessary.

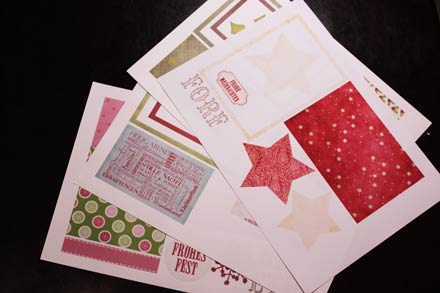
5. Open a new canvas the size of the sheet you will use for printing, and select each layer of your card, one by one, to drag them onto your new canvas. Arrange everything so it’s ready for cutting, but make sure nothing overlaps.
Tip:
To save myself both paper and ink, for the background papers and mats I always pick the layer that is on top of the one that I actually want to move onto my printing canvas, and with the magic wand tool I click outside of that layer anywhere on my canvas (this selects everything except the layer I have chosen). In the menu I click on select/modify/expand and set the parameters at 40 or more. (This selects a larger area than the actual layer I have chosen, and is necessary for overlapping.)Now, in the sidebar I actually choose the layer that I have been wanting to move, copy and paste it onto the canvas intended for printing. This way I only have a frame of the mat and in its center I can place other elements for printing.
6. Print on white cardstock and cut out everything.

7. Now the real fun begins. Since I work with A6 size cards, I take an A5 size sheet of cardstock paper, fold it in half and choose on side to be the front where I will start attaching my papers and elements now. Starting with the background layer I start to glue the two background papers on the card base.
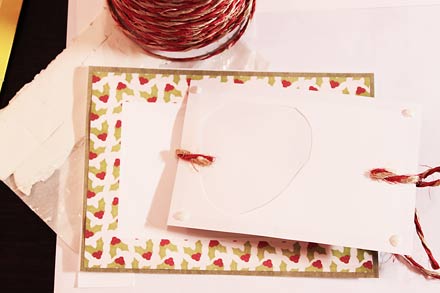
8. The two papers for the mat I glue together without attaching the mat to the background papers on my card yet.
9. Now, I pull the string through the holes of the label (making sure the length of the string runs along the backside of the label) and attach both ends of the string to the back side of the mat. With some more string I tie a bow the string on one side of the label.

10. The mat with the label then gets attached to the background papers of the card, simply using my white tac (which gives all of it an even better 3D feel). Lastly, using white tac again, I attach the little embellishment to the corner of the mat, and there we have it: another Christmas card.


