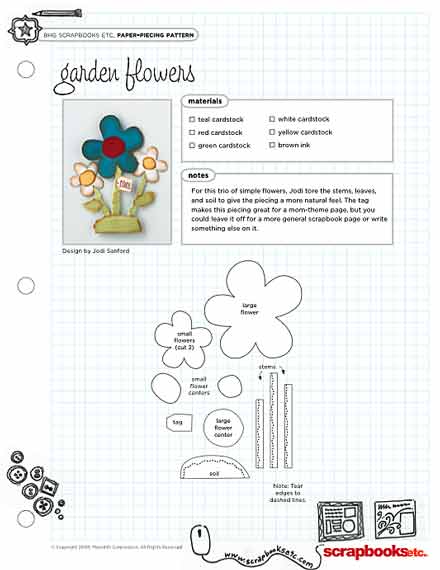
The other day I promised you I would do a tutorial about how to actually use paper piecing patterns such as scrapbooksetc.com offer for free on their website. And today is the day!
Like many other resources on the internet, these paper piecing patterns come in .pdf files, which is great when you only want to use them to trace the shapes on an actual piece of cardstock. But how do you go about when you want to use them with a graphic program such as Photoshop? The answer is really simple, and there are different ways how you can actually utilize pdf paper piecing patterns, create clipping masks, or resize these patterns to better meet your needs.
Access Patterns in Photoshop
The first thing you have to do when working with pdf files, is make sure, you can access the file with photoshop. Some files easily allow that: Simply right click on the file in your folder, and choose the option “Open with …,” and then pick “Photoshop” in the fly-out menu. This will open your pdf file accordingly.
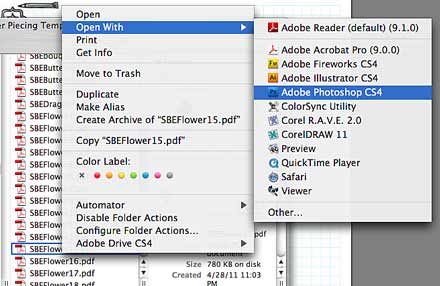
Some files, however, won’t permit you to open them in PS, but you can open them with your Adobe Acrobat Reader, enlarge the file, and then simply do a screenshot. (If you don’t know how to do a screenshot with your computer, simply google it, and you’ll find lots of help.)
Create Clipping Masks
Once you’ve successfully opened your piecing pattern in PS, you want to make sure that you duplicate the file first, so that you don’t mess with the original file.

Then you zoom into the part that you want to work with. Choose the Magic Wand tool, and then click inside any of the shapes that you want to create a clipping mask from.

“Marching ants” will appear. If there is writing inside the shape, like in the one that I chose, select the Rectangular Marquee tool, and while pressing the “shift” key select the area that includes the writing.
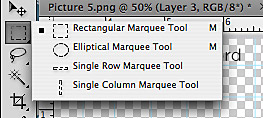
Marquee Tool
Now the letters are included in your overall selection.
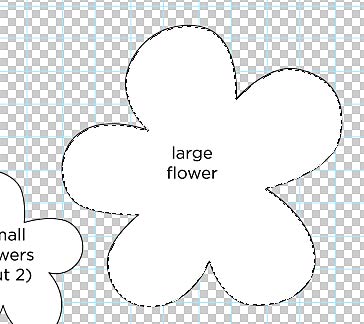
Selection
Now, all you have to do is, create a new layer (windows key + shift + n), and fill this layer with the paint bucket tool (the color doesn’t matter, because this clipping mask will soon be covered by your choice of paper).

Paint Bucket Tool
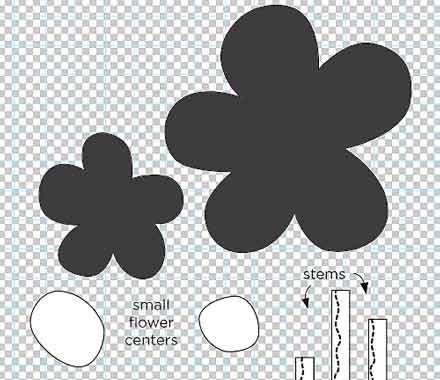
You’ve just created your first clipping mask!
Simply repeat these few steps with every other shape on your pattern sheet, and then just drag and drop them onto your canvas on which you want to use them.
To clip your papers to those clipping masks, all you need to do is in the layers panel, with your cursor go right between the two layers you want to clip, press the Alt key, and two circles will appear, click, and the paper will be clipped to the mask.
Tip:
Another approach to create a (vector) clipping mask are these few simple steps …
– open image (and resize, if the original image is too small)
– select your shape with the magic wand
– right click inside your selection and choose “Make work path”
– add new layer
– in the path panel, right click on the path and choose “Fill path”
