Christmas 2011 officially now is a thing of the past. But for us scrappers the good news is that our holiday scrapping is just beginning, since I’m sure that most of us have a lot of memories that we want to preserve with your layouts. It’s the perfect timing, therefore, to bring you this little tutorial on how to create your own paper clipping Christmas tree. Check out my DD cover page, and the tree you see there is what you’ll learn to do in today’s tutorial:
In this tutorial you will learn how to …
- … create your own clipping masks using a custom shape;
- … rasterize the custom shape;
- … divide the custom shape into various fields/shapes by using the Eraser Tool.
Here’s how it works …
I’m assuming that you’ve already opened your canvas, and are ready to start …
STEP 1 | Create a Triangular Shape
The first thing we need to do is create a triangular shape. Simply press U to bring up the Custom Shape Tool (settings will be accessible in the top left area of your photoshop screen). Make sure, you have the Polygon Tool selected, and the number of sides is reduced to 3 – thus the triangle!
Click on your canvas, and draw a triangle. The size and dimensions don’t matter, since you can easily resize everything. The only thing that matters is that one of the sides of your triangle should be a straight horizontal or vertical line (to help you ensure your tree is level).
STEP 2 | Resize & Rotate
After creating your triangular shape, you need to resize it to give it more the shape of a tree (two long sides, one short side). Also, you might have to rotate your shape to make sure the short size is at the bottom.
STEP 3 | Rasterize Your Shape Layer
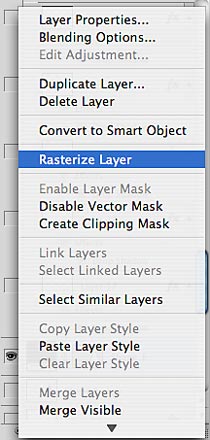
In the Layers Panel, right click on your shape layer to bring up a menu, from which you can choose “Rasterize Layer.” This step is necessary so that we can further modify our tree shape.
Step 4 | Cutting Straight Lines Through Your Shape
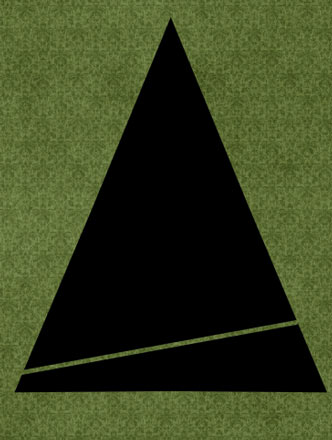
Press E to bring up your Eraser Tool. Adjust your settings as desired: I chose a round brush with 100% opacity, and with the size of 20 (though the size depends on your personal preferences, and the size of your canvas).
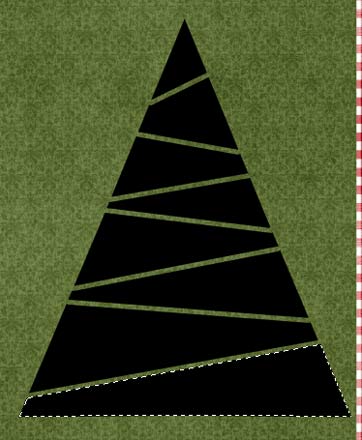
Make sure your tree layer is selected in the Layers Panel. Then begin at one side of the tree, right near the bottom: 1. With the cursor right on the edge where your tree shape starts, click once (left or right side doesn’t matter). 2. Hold down your shift key, then move all across and beyond your shape layer, and click again – a nice straight cut has been created.
Tip:
Give your cuts an angle by moving your cursor higher or lower than your initial position.
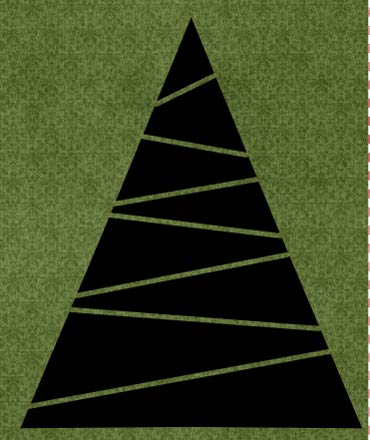
Repeat as many times as you desire (cut less often for larger fields, cut more often for smaller fields), and make sure your cuts fully erase the original layer even at the edge (will make your job much easier later on).
STEP 5 | Add a Trunk
Press U to bring up your Custom Shape settings again.
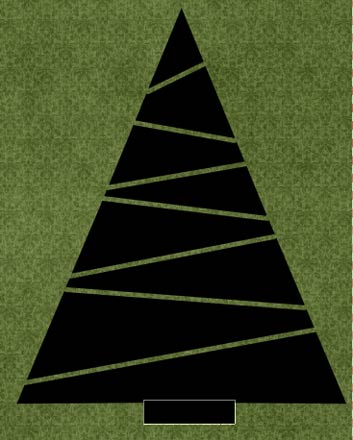
This time, make sure you’re selecting the Rectangle Tool, draw a little box at the bottom of your tree to add a trunk (clip a paper to it), and make sure that in the Layers Panel it’s placed right beneath your tree layer.
Now, technically, you could stop right here, clip one paper to your tree, and you’re done!
However, I’m going to take you a little further today, and show you how to create individual clipping layers from your current tree layer, so that you can actually clip more than one paper to it, and make it look all fun, and merry, and bright!
STEP 6 | Create Individual Clipping Layers
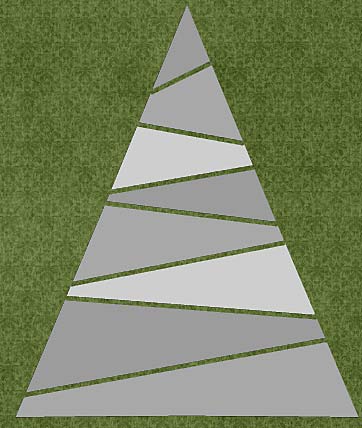
This step will have to be repeated several time, so always make sure when you start again, to select your original tree layer. Press W to bring up your Magic Wand Tool click in one of the fields of your tree. A selection (marching ants) will show.
Press windows key + shift + N to add a new layer to your Layers Panel (will be added right above your current layer), and then, pressing G and clicking within the selection, fill this layer with color (color doesn’t matter since this new layer serves as a clipping mask). Select your tree layer again, and then repeat these few steps with each field your tree has.
You can delete your original tree layer or make it invisible by clicking on the eye symbol in the Layers Panel, and then all you need to do is clip your papers to each of your clipping mask layers.
You can further decorate your tree however you desire, or use it for journaling, or for … whatever else you can think of. Be creative, and have fun!






Thank you! I had a big aha… moment. Love your tutorials, always looking forward to them.
Happy new year.