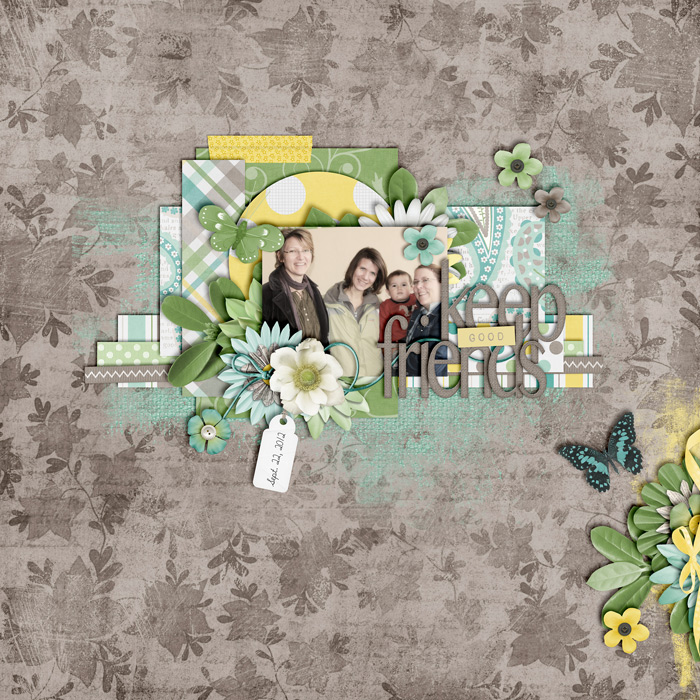
Today, I’m going to take you once more behind the scenes of my own processes of scrapbooking. I thought, it would be a good idea to show you some of the tricks, tools, and techniques I use on almost every layout of mine.
1. Alignment
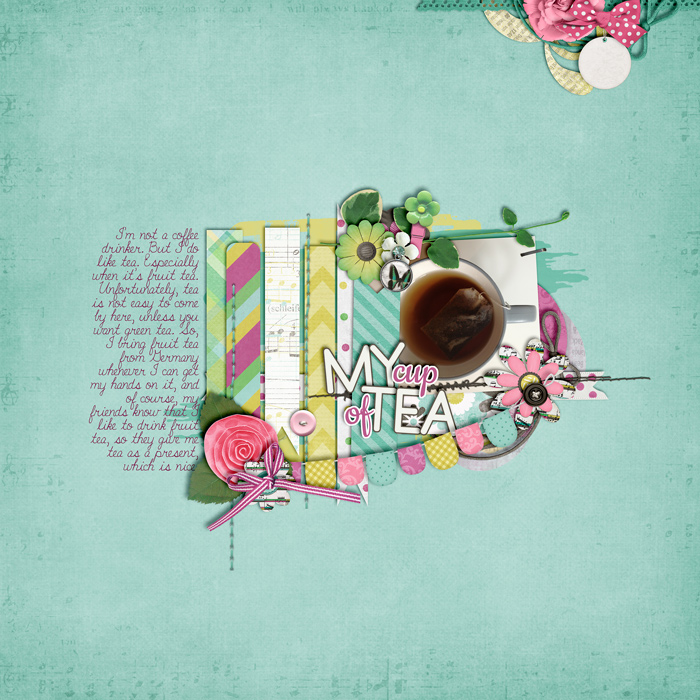
There is no page, on which I don’t use the alignment tool. Most often, I use it to align alphas, and to position my clusters on the page (if I want to make sure something is centered or spread out evenly). There are two ways to align things on a layout:
- Align within a selection (Marquee Tool or Magic Wand)
- Align in relation to other elements (select all layers you want aligned and align to each other, or spread out evenly)
Aligning the alpha
[border ]
2. Blending & Opacity
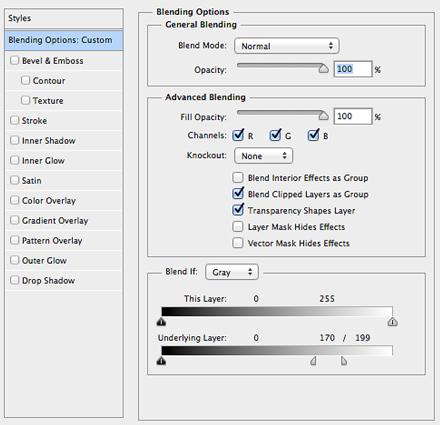
I love making things look realistic on a page. One way to make your journaling (fonts) and brushes look as if they were really placed on your paper (as opposed to floating) is by adjusting blending modes or opacity.
Go to Blending Options, and you can separate the little modifiers by pressing alt while moving them. Experiment with this, and you’ll see what I mean.
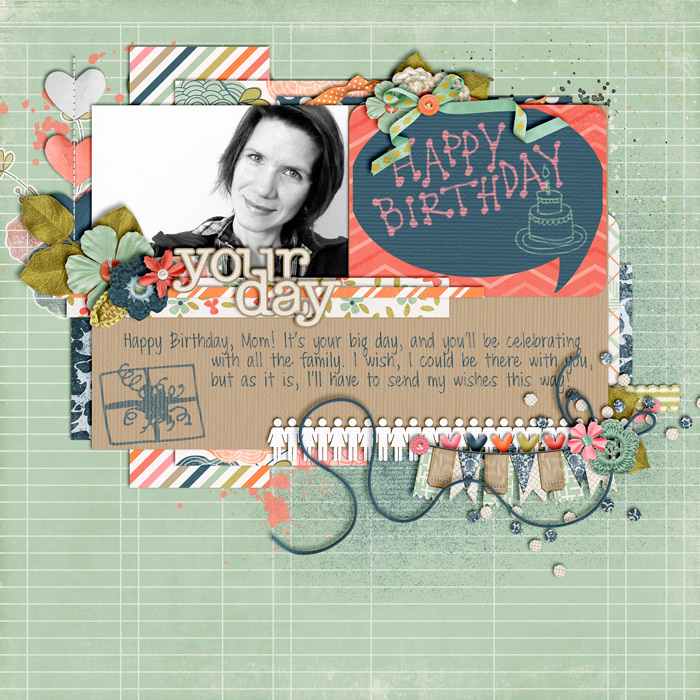 Text written “directly” on the paper
[border ]
3. Sticker Effect
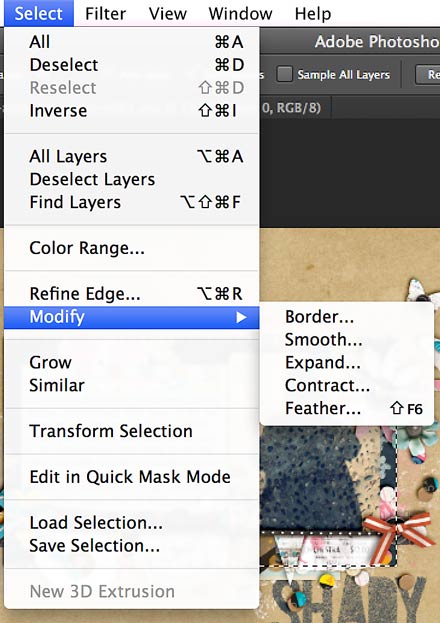
Often, I work with fonts to turn them into an alpha for my title. That’s when knowing how to create a sticker comes in most handy. As always with Photoshop, there are multiple ways to go about this, but the method I use most frequently is by selecting the layer with the Magic Wand Tool, then expanding my selection, adding a new layer underneath the original layer, filling that with a solid color to use as a clipping mask for my papers.
[border ]
[space ]
4. Actions
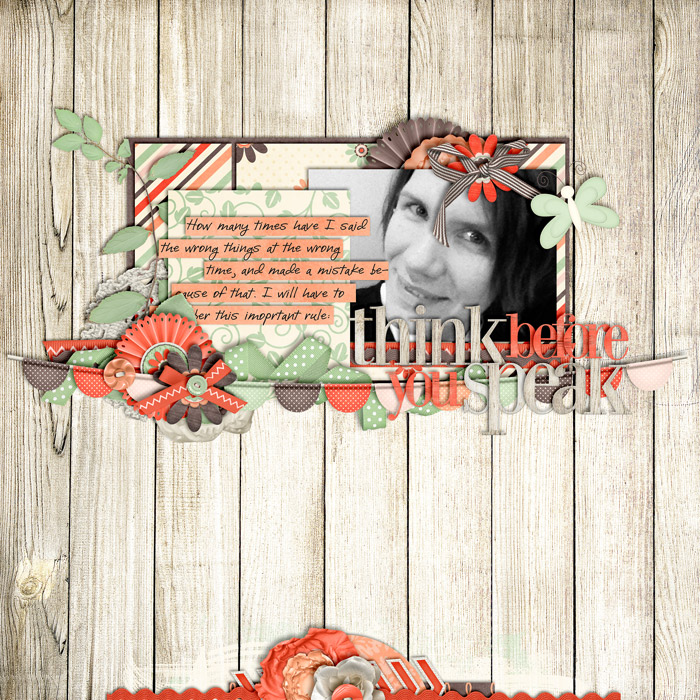
I can’t live without actions any more. They turn a mediocre photo into something like art. They will help you modify your photo’s colors to match the colors of the scrapbook kit you want to use. There are tons of free actions out there for you to play with and improve your photos.
Photo modified to match general color scheme
[border ]
5. Unsharp Mask
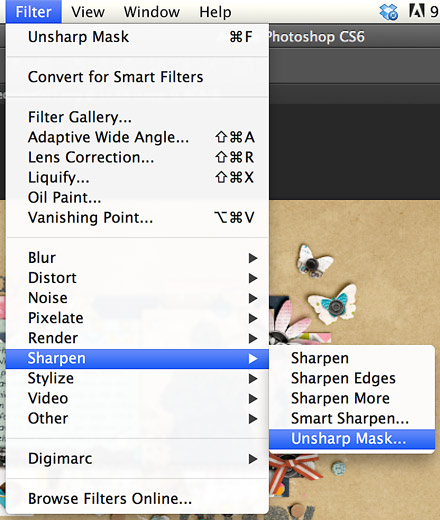
Every page needs to get saved in the end (of course), so before I do that, I flatten my image and run it through a filter “Unsharp Mask” in order to save it for the web.

