
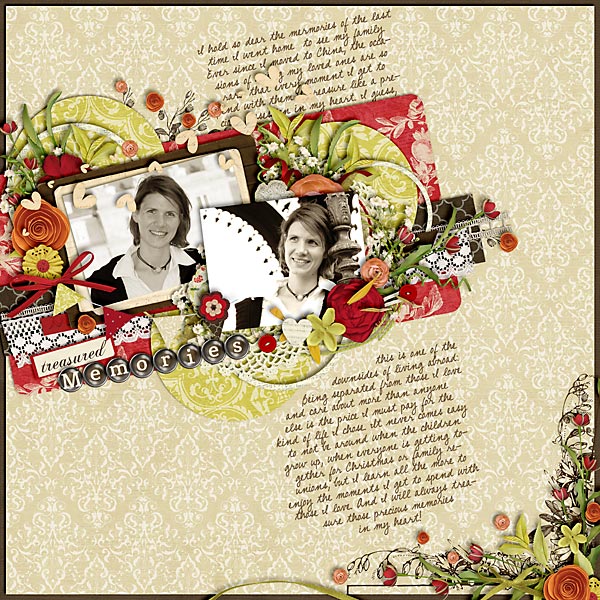
Credits:
Cherished by Kristin Cronin-Barrow & Penny Springmann
Font: DJB Mary Magpie by Darcy Baldwin
Credits:
Cherished by Kristin Cronin-Barrow & Penny Springmann
Font: DJB Mary Magpie by Darcy Baldwin
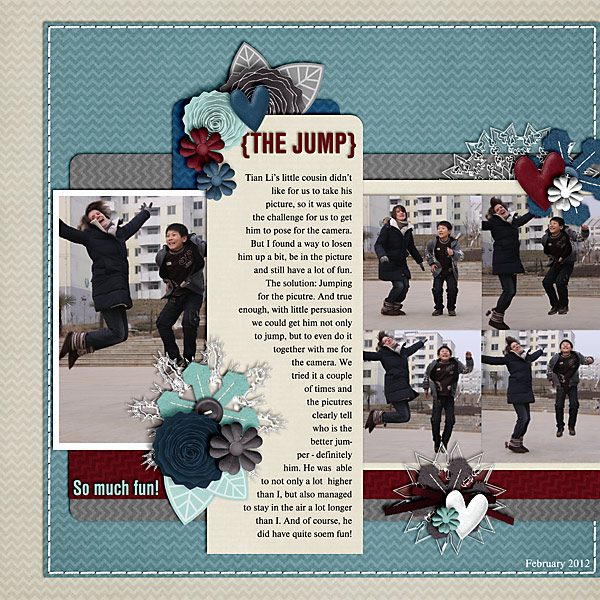
Credits:
A Little Ziggy Paper Pack by Libby Pritchett
Snowflakes from Hybernation Day by Libby Pritchett & Chere Kaye (retired)
Other elements are re-colored and from Andria by Libby Pritchett
Stitches from Border Basics Squares by Libby Pritchett
Scraplift of Snow Day In October
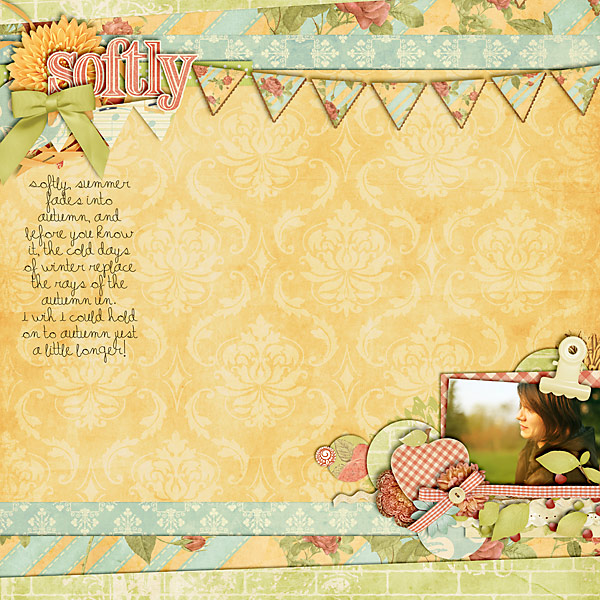
Credits:
Prelude to Autumn by Krystal Hartley
Template from I Love Me Some Jenn Barrette by Darcy Baldwin
Font: A Happy Little Font by Darcy Baldwin
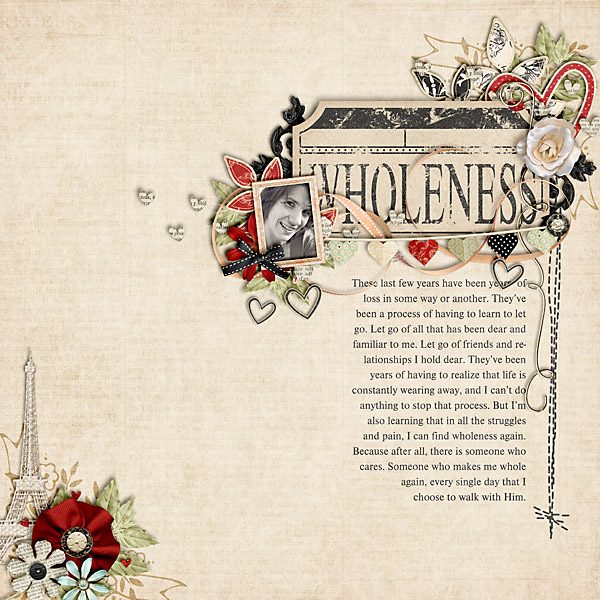
Credits:
J’Adore by Kristin Cronin-Barrow
Inspired by Embrace
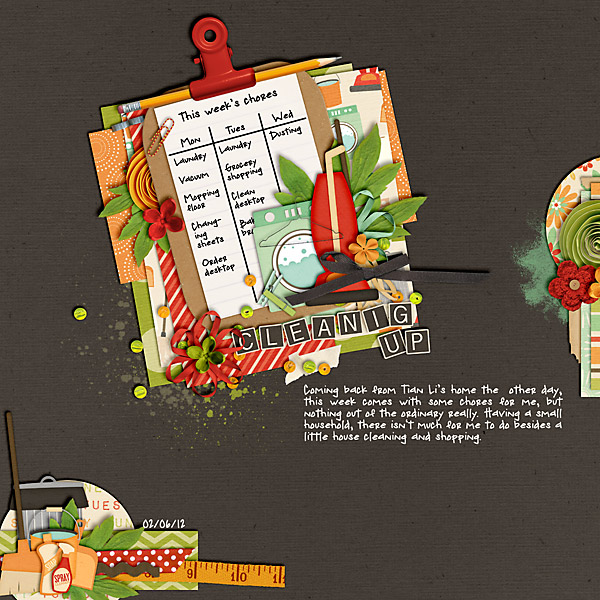
Credits:
Domesticated by Kristin Cronin-Barrow
Font: DJB Miss Cranky Pants by Darcy Baldwin
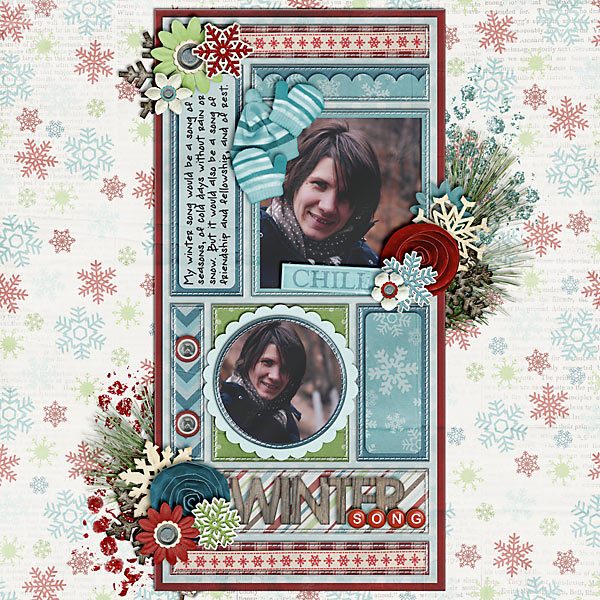
Credits:
Winter Wish by Melissa Bennett
Slip In Style Builders 2 – 6×12 by Cindy Schneider
Color Spectrum Alpha by Julie Billingsley
Font: Miss Cranky Pants by Darcy Baldwin

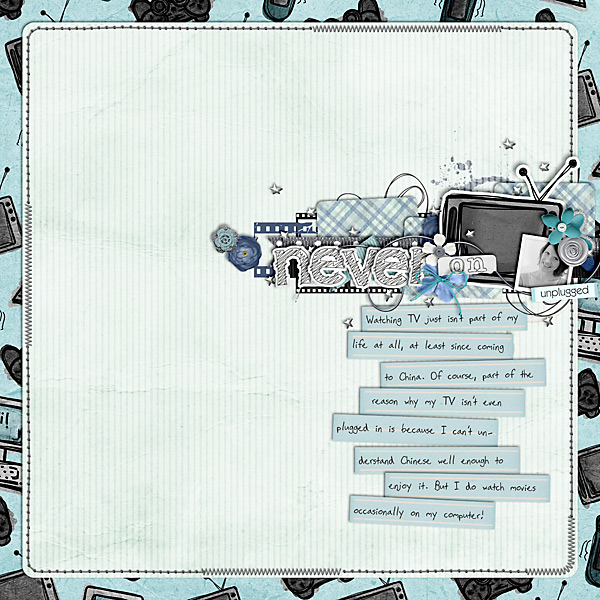
Credits:
At Last by Kristin Cronin-Barrow
Font: DJB Third Grade Teacher by Darcy Baldwin


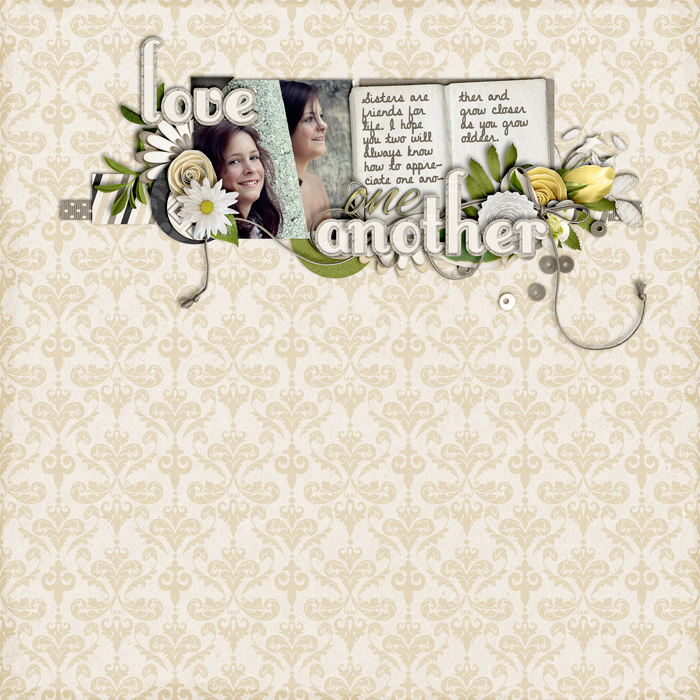
Credits:
Missing You by Jady Day Studio
Font: DJB Carry Script by Darcy Baldwin

I have a very quick little tutorial for you today. Time and again, I’ve wondered how, in Photoshop, I can create a shape, say a rectangle, with a fixed size. Sometimes, esp. when I do hybrid projects, I really need to have something of a specific size to meet my needs. Other times, I like to work quite precisely on a layout (I’m a perfectionist to some degree, you’re right!), and then being able to know how to create a shape of an exact size can come in handy. So, the answer to this little question is actually really simple.
Take a look at this little image, and this is all there is you need to know. For real!

Ok, ok. I’ll give some explanation, too.
STEP 1 | Select the Shape Tool
Start by hitting the key U, or clicking on the icon for the Shape Tool in your toolbox of your Photoshop screen (it’s on the left side of my screen) to open the Shape Tool. At the top towards the left of your screen, you’ll find the various options for your Shape Tool appear. Choose any of the shape tools you want to use. For simplicity, I’ll go with a plain rectangle shape.
STEP 2 | Open the Geometry Options Dialogue
A little further to the right of your shape tool options (left to the custom shape tool), you’ll find a little arrow, pointing down. It’s blue on my screen (and the image above). Click on the arrow to open the Geometry options dialogue.
STEP 3 | Type In Your Specifications
One of the options in the dialogue will be “Fixed Size.” Make sure to check this option, and then in the two fields type in whichever specifications you need. You can change your measurement settings, too, using inches, cm, pixels, etc.
STEP 4 | Create Your Shape
Lastly, just go anywhere on your layout, click once (with the Shape Tool still selected), and your shape is created with the exact size as you wished it. That’s it. Now, I’ve made a 4-step tutorial out of something that just takes about 10 seconds to do, lol!
Tip:
You can do this with all the available shape options.
Below you can see an example of a page for which I used exact shape sizes. I based it on one of the sketches this month at pagemaps.com, and being the perfectionist, and all, I wanted to make the photos the exact same size as the sketch was showing.

And here is my finished page:
