With the Project Life being such a rage, labels have become really popular over the last couple of months. A lot of designers have picked up on the trend and regularly provide PL-type labels in their kits. Oftentimes, however, I find myself still not having exactly the kind of label I’m looking for on my layout. My answer to this problem: I sometimes create my own labels. It’s quick, it’s easy, all I need is paper (patterned and solids both work), and I’m ready to create my very own label that perfectly suits my needs.
Take this layout for example:

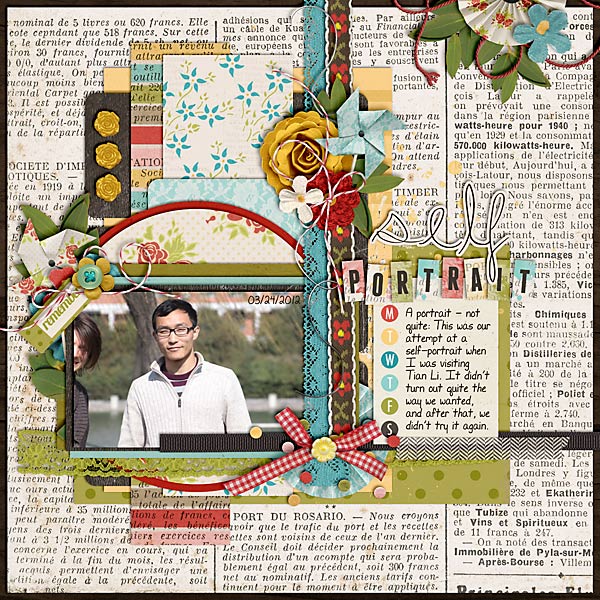
This kit “Sweet Caroline” by Kristin Cronin-Barrow didn’t include any suitable label that would fit in the little compartment of the tray that I had chosen for my journaling. No problem, I thought, I’m just going to make my own label that will fit just perfectly.
Here’s how it works …
In this tutorial, you will learn how to …
- … create a shape layer,
- … duplicate the shape layer and erase parts of the duplicate layer,
- … clip papers to the shape layers, and
- … merge all layers.
STEP 1 | Draw a Rectangle with Rounded Corners
I prefer labels with rounded corners. But you can use the plain ol’ rectangle shape just the same. Press U to select the Shape Tool. In the top left of your Photoshop screen, you’ll find various shape options to choose from. I chose the Rounded Rectangle Shape Tool.
Draw a little rectangle the size you want your label to be.
STEP 2 | Rasterize Your Shape
Next, we need to rasterize our rectangle. For that, in the Layers Panel right-click with your mouse on the layer of your rectangle shape. A window will pop up, from which you can choose “Rasterize” – this will change the way your layer appears in your Layers Panel.
STEP 3 | Duplicate Your Layer
Still in the Layers Panel, right-click on your rectangle layer again, and this time choose “Duplicate” from the pop-up window. This will replicate your original layer.
Make sure both layers remain exactly on top of each other.
STEP 4 | Erase Part of Your Top Layer
Now, we want to create the little edge that will show on one of the four sides of your label. Choose on which side of your label you want that edge to show, then, using the Rectangle Marquee Tool (marching ants), draw a selection that will just leave that area of your label uncovered where you want your edge to show. Make sure your top rectangle layer is selected and hit delete.
STEP 5 | Clip Papers to Both Layers
From your digi-stash, choose two papers and clip them both to your larger bottom layer and the top layer edge.
TIP:
Use a solid paper for your bottom layer if you mean to use this label for journaling. Choose patterned papers, if you just want to use this label as a place filler.
STEP 6 | Merge All Four Layers
The last thing you need to do is to merge all four layers (your papers and your clipping masks). Now your label is all set, you just need to add your shadows, and use it whichever way on the page you like.
Endless Possibilities
Now, there’s a variety of labels that you can create in this way.
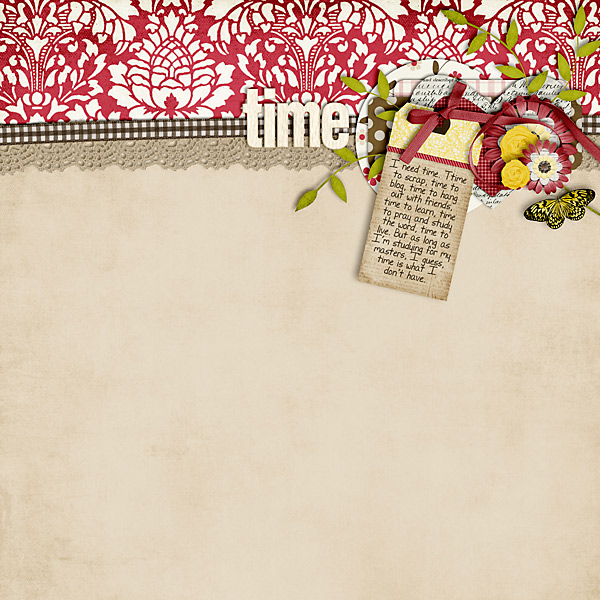
For the following page, for example, I used them as background mats for my journaling strips. I clipped patterned papers to the main part and solid papers to the edges where I meant to write a little.

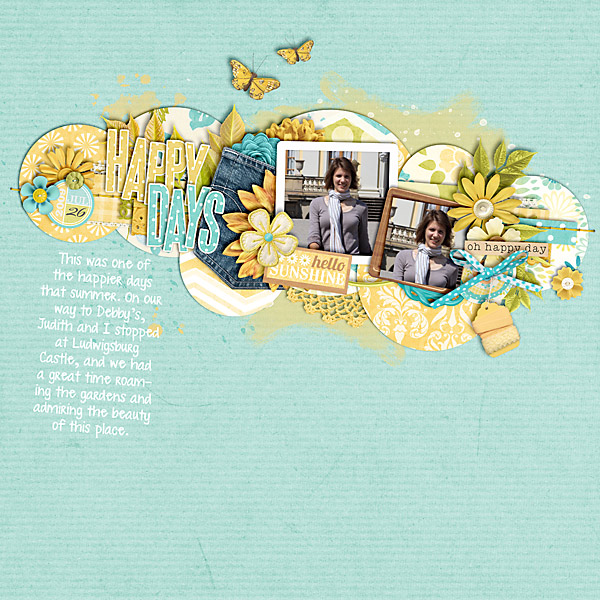
For this next page, I reduced the size of the top layer so that the patterned paper of the bottom layer would become visible.

Here’s one of the pages of my last December Daily pages. For this one, I reduced the size of the top layer, cut off the top part of that layer (in similar fashion as in STEP 4) and clipped solid papers to both layers.

For this next page, I clipped all patterned papers to my labels and used them as pocket fillers.

And for my last sample today, I clipped solids to both parts of the label and used the end product to journal in various categories.

As you can see, the possibilities are endless when it comes to creating your own labels as well as how you want to use them on your page. The bottom line is: they’re easy to create, take little time, and yet, they make fabulous journaling mats or embellishments.