
Credits:
XOXO by Traci Reed & Amyjaz Designs
365 Unscripted: Slip Ins by Traci Reed
Alphabitties No. 2 by Traci Reed
Font: DJB Hugs & Kisses, DJB Miss Molly Brown, DJB Tootsie Wootsie, DJB Holly Jolly Bold all by Darcy Baldwin
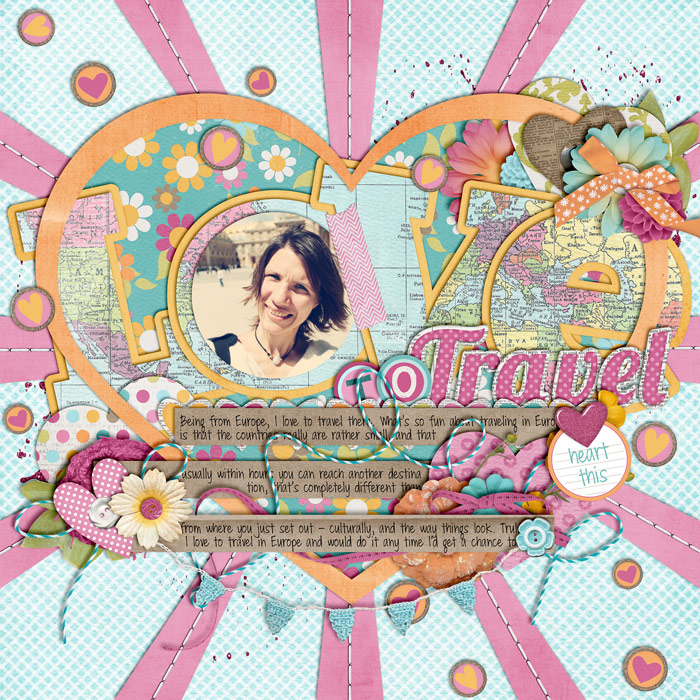
Credits:
XOXO by Traci Reed & Amyjaz Designs
365 Unscripted: Slip Ins by Traci Reed
Alphabitties No. 2 by Traci Reed
Font: DJB Hugs & Kisses, DJB Miss Molly Brown, DJB Tootsie Wootsie, DJB Holly Jolly Bold all by Darcy Baldwin
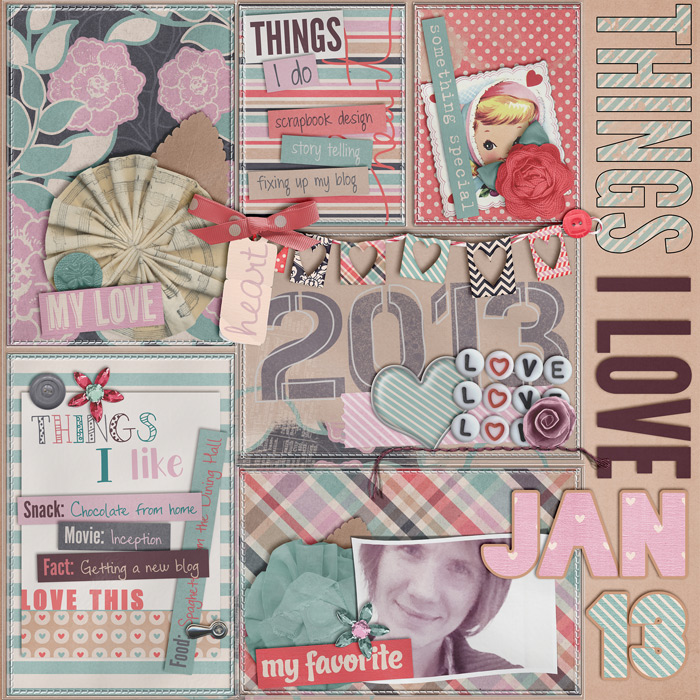
Credits:
Love Makes the World Go Round by Traci Reed & Melissa Bennett
Single 22 – I Heart You 3 by Cindy Schneider
Font: DJB Miss Molly Brown by Darcy Baldwin
Guess what! This weekend one of my friends is getting married, and for me that means getting ready for another trip. It also means that I’ll be heading out some time this afternoon and I’ll be spending the night on a train. That in turn means it’s something I’m not quite looking forward to. Trains and nights and me don’t usually match well together, which also means that I’m about to experience a very tiring weekend.
But at least it’s a wedding, and I’ll get to see one of my friends again, whom I haven’t seen in a long time. That counts for something, doesn’t it?
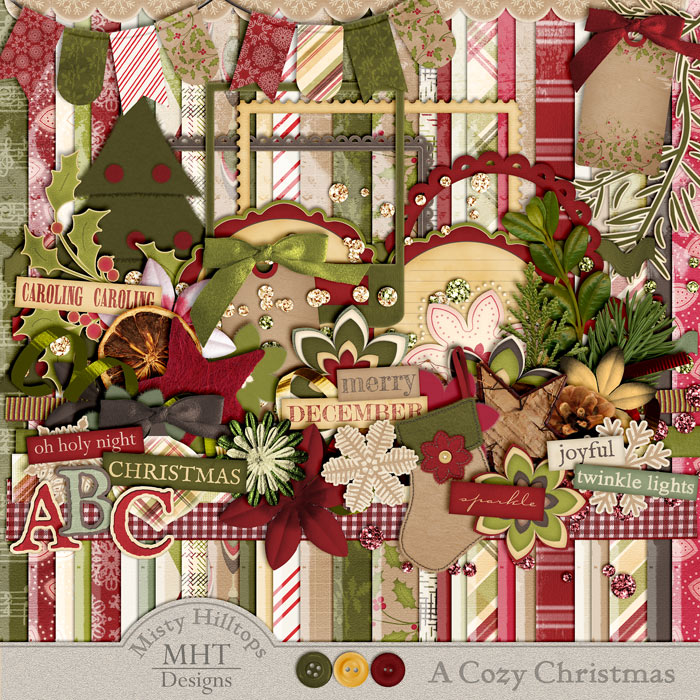
Yippieeeh! Late (as always, lately), but here it is! The last installment of “A Cozy Christmas!” Now you can go off and scrap your not yet scrapped Christmas memories. (I still got tons of them, which I’ll probably never get to scrap!)

Click on image to download
Anyhow, since this is the last part of this kit, it’s about time for me to announce what I have up my sleeves, next! Yes, yes, there’s more to come, and I’ve been busy busy designing lately, figuring out how things work on that side of the scrapbooking art, and I’m happy to share with you a peek at the next kit I have for you:
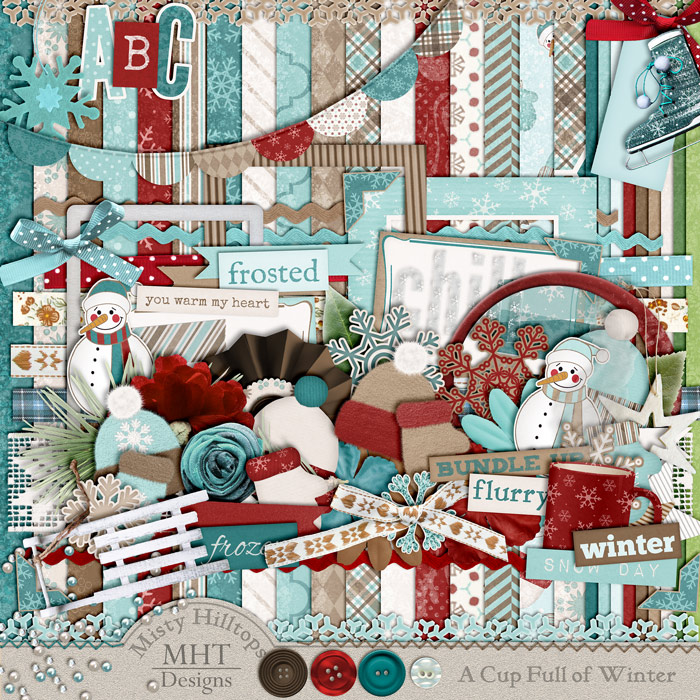
“A Cup Full of Winter” is my third kit I’ve created for you, and it’s again jam-packed with goodies of all sorts. (And I should express a heartfelt “Thanks” to my mom who actually keeps contributing by sending me pictures of things from her home that I can extract! So all of you, who get to play with this in a couple of weeks, say: Thank you, Mom!)
Anyhow, I’ll start sharing my first part of this kit next Friday, so don’t miss it! And if you’ve just stumbled upon MistyHilltops.com for the first time, it’s not too late to pick up my previous two kits: A Grateful Heart, and A Cozy Christmas (check the Tag: Freebies).
Alright. As always, keep in mind that I put a lot of effort and time into creating these (even involving my mom, right), so please, as a courtesy, don’t just go and share these products (or the direct links to those products for that matter) with others. If you like sharing (which I obviously like, too, as you can see here), then kindly send others this way so they can pick up these products from MistyHilltops.com.
And as always, I’m left to say: Happy Friday, scrappers, and happy scrapping!
PS. Please, please, please show me what you do with these kits when you play with them. I’d love to see your creativity, and all you need to do is, simply come back and post the links to your gallery uploads here in a comment.
Today is a special day for me. It marks the anniversary of my move to China. Yet once more do I look back to all the things I’ve been able to learn from these people since I first arrived here. And I’m thankful for how this experience has enriched my life!

The good news when it comes to cards is that there’s always a reason to send others a little greeting. Like today’s card, which I created for my friends who’d returned home after a summer away.

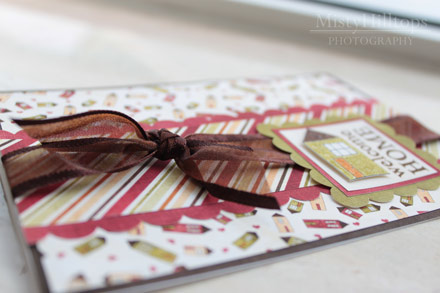
Supplies used: A Place to Call Home by Christy Lyle & Amanda Heimann (retired), ribbon, card stock
Well, friends, what can I say? My little sweetheart sister is the best! Not only is she a web designer in her own right, she also hooks me up with cool stuff regularly, and look where she pointed me just the other day:
Couture Collection aka www.ewcouture.com
For all of you photography lovers, this is a place you don’t want to miss. This blog comes packed with free stuff for photographers – templates, storyboards, all sorts of things that help you showcase your photos.
 |
And who says you can’t use these things on a scrapbook page, too? Anyhow, don’t get distracted by the image above. The website has a lot more to offer, so why don’t you hop on over there to check out the place?
Alright, friends of the digital scrapbooking business, if you remember well, then you’ll remember that I promised you the other day to show you how to create pockets like the ones on the Project Life layout I shared with you the other day. This one:
 |
It’s actually a fairly simple process, and doesn’t require much skill at all. Soooo …
Step 1 | Create a Rectangle
On your canvas, add a new layer to your Layers Panel (windows key + shift + N – on my computer), and activate the Rectangle Tool (shortcut U). Draw a rectangle of the size you desire, and rasterize it (right click on the rectangle layer in the Layers Panel and choose Rasterize Layer from the options you are given).

Step 2 | Create a Circle
Now, you want your pocket to look like a pocket (of course, or else it wouldn’t be a pocket), so for that you want a little semi-circle to be cut out from your shape. Similarly as in step one, create a new layer, and using the shortcut U choose the Ellipse Tool (which you’ll find, if you click on the Rectangle Tool just a little bit longer), draw a little circle. To make sure it’s really a circle, and not an ellipse, hold shift while you’re drawing; that way your circle turns out perfectly round. Make sure your circle is small compared to your rectangle. Rasterize this layer, too.

Step 3 | Align Circle and Rectangle
Place your circle at the top edge of your pocket, right in the middle. (You can ensure that it’s truly centered, by selecting both layers in the Layers Panel and then choose Align Horizontal Centers in the top bar of your Photoshop window.) Make sure that the top edge of the rectangle also aligns with the center of the circle (although precision here doesn’t really matter).

Step 4 | Crop the Rectangle
With the circle layer selected in your Layers Panel, use the Magic Wand Tool (W) to select the area inside your circle. (Now it is really important that you have rasterized this layer, or else you won’t be able to continue to modify neither rectangle nor circle.) Now, switch to your rectangle layer, and hit delete, to remove the selected area from your shape. Remove your selection (windows key + D), delete your circle layer, and you’ll see that now you have a nicely cropped pocket. All you need to do is clip a paper to it, and you’re done!


Since I promised you last time that I’d also show you how to add stitching to your pocket, let me do that here real quick. All you need to do is select your pocket with your Marquee Tool (I usually use the magic wand to select the exact shape of the pocket), contract the selection (Select > Modify > Contract; the size depends on the size of your pocket, but probably a value of 10-15 will work for contracting), and prepare your Brush (see last week’s post on Creating Dashed Lines). Return to your Marquee Tool (M) and turn your selection into a path by right clicking inside the selection and choosing Make Workpath from the options. Create a new layer, and stroke the path with the Pen Tool (P). That’s it. Now your paper pocket even comes with some nice stitching.
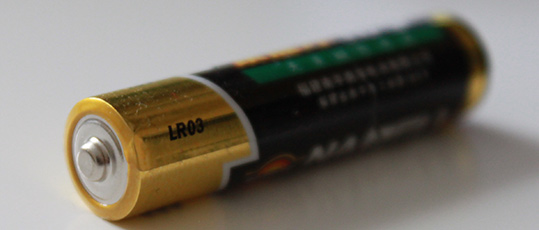
Have I ever told you about batteries? Of course, we don’t need to discuss their usefulness here, as everyone knows that life is hardly possible without them in this day and age. That, however, doesn’t mean that that makes their life possibly lasting longer. Not at all. And surely not here where I live. In fact, the life expectancy of batteries are just as unreliable as you could imagine.
Let me give you a recent example: I was buying an appliance that works with the help of batteries. And on the box of that appliance it tells you clearly that with proper use, a battery will last two years before it needs to be switched out. Well, did I think when I bought that appliance, make that a couple of months instead, and then we’re getting closer to reality. Little did I know that I was wrong. Dead wrong. For it didn’t take two years; neither did it take a couple of months. Within one month after I’d bought the appliance, it stopped working because the battery had no more power.
And honestly, I don’t blame the appliance. My experience here clearly tells me, it was a typical unreliable battery. And there’s no way around here. Batteries in these places are just not meant to live very long!
It’s journaling hour here in my little Digiscrap Corner, but today, I got something special for you. Something a little out of the ordinary. But don’t worry (for those journalers among you), you’ll still get a ton of inspiration out of what I’m going to share with you.
Have you ever heard of “Grace is Overrated”?
It’s a website by some awesome gal who came up with an amazing idea of creating journaling pages. Something like this:
 You can easily find her pages on her website (for download and print, in colored/embellished versions, or simple and plain). And what’s best of all, you can use her pages as inspiration for your websites. I for one, took inspiration from the prompts in the middle section of the page above, the section called “Moving ever forward.” And see what I did with it on one of my scrapbook pages …
 |
Anyhow, if you’ve never heard of Overrated Grace, then could be time for you to discover some gems!