
Credits:
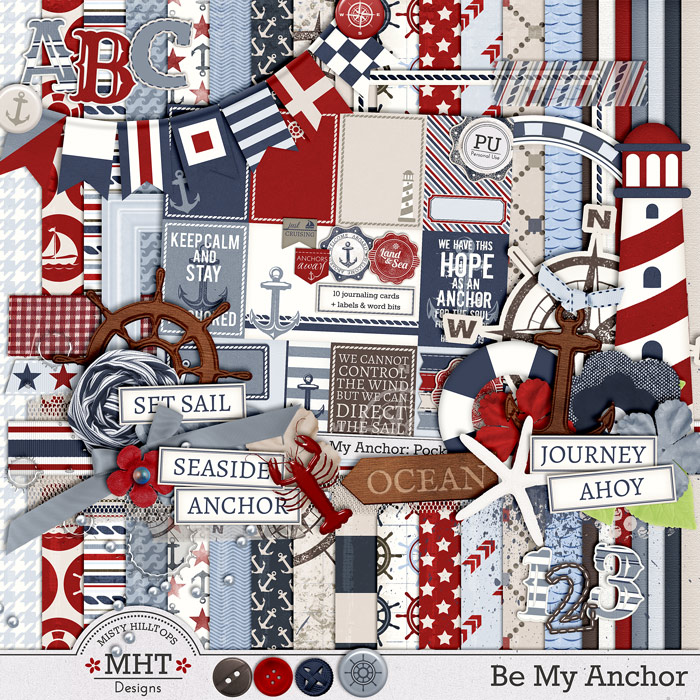
Be My Anchor by Misty Hilltops Designs

Credits:
Be My Anchor by Misty Hilltops Designs
Credits:
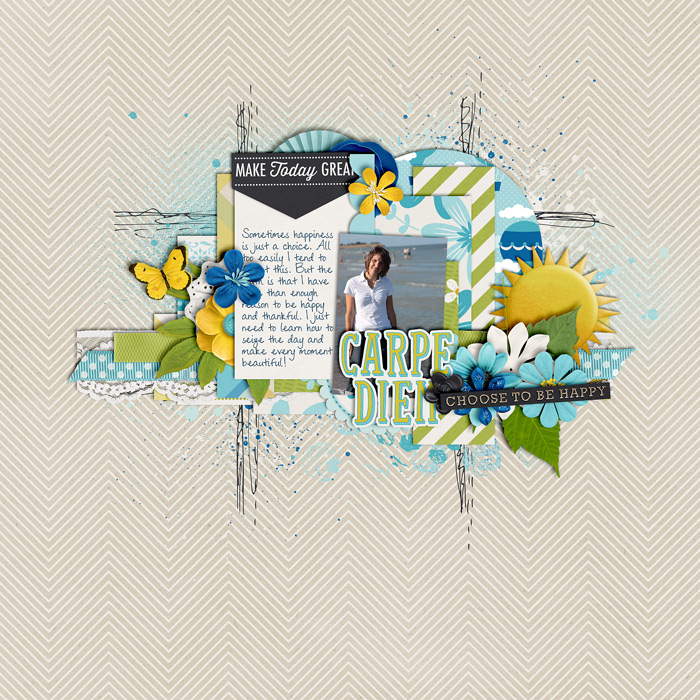
Carpe Diem by Kristin Cronin-Barrw & Brook Magee
There it is – I’m sharing the last part of my current freebie collection with you. I’m glad so many of you like it (as I can tell from the number of downloads this freebie kit has had already). So, please come back and share with use the pages you’re creating with this (I always love to see what you’re doing with these kits). And though I don’t have another digital scrapbooking ready for you – yet – don’t forget to come back next week, because there’s still a number of fun little things I’d like to share with you. And at any rate, you don’t want to miss the next collection that is sure to come soon, too (after all, I’m still on summer break for a while)! But for now, here’s part 6 of this collection – the last part of the ellies.
Da sind wir! Heute stelle ich euch den letzten Teil meiner gegenwärtigen Freebie Kollektion zur Verfügung. Ich freu mich ja, dass so viele von euch diese Kollektion mögen (wie ich anhand der Anzahl der Downloads sagen kann, die dieses Kit schon jetzt hat). Also, bitte kommt zurück und zeigt mir, was ihr mit diesem Kit kreiert habt. (Ich find’s immer ganz spannend zu sehen, was andere so mit meinen Freebies anstellen!) Und obwohl ich noch kein weiteres digitales Scrapbooking Kit für euch in Arbeit habe, solltet ihr nächste Woche unbedingt wieder vorbeischauen, denn ich habe immer noch ein paar Kleinigkeiten, die ich gerne mit euch teile. Und die nächste grosse Scrapbooking Kollektion kommt auch ganz bestimmt – immerhin habe ich noch eine Weile Ferien. Aber jetzt kommt erstmal Teil 6 dieser Kollektion – der letzte Teil der Elemente.
Remember to pay attention to my Terms of Use (no commercial use, no direct sharing or redistribution of any kind) and now: have a good weekend and happy scrapping with this complete kit!
Bitte denkt an meine Nutzungsbedingungen (keine kommerzielle Verwendung, kein direktes Teilen oder Weitergabe in irgendeiner Weise). Und nun: Habt ein schönes Wochenende und viel Spass beim Scrappen mit dem ganzen Kit!
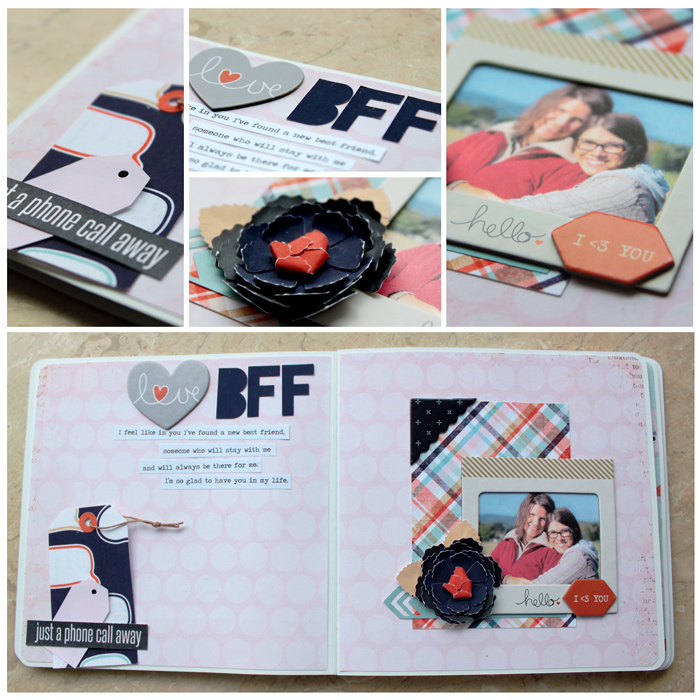
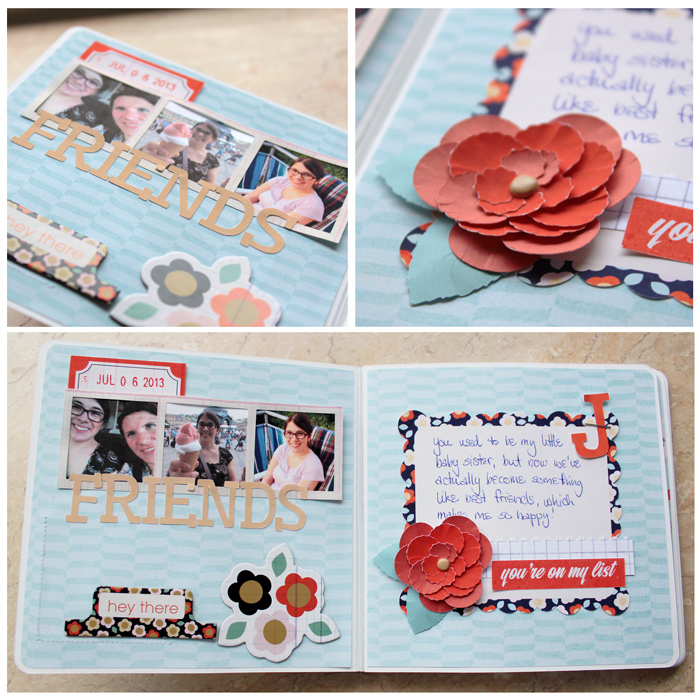
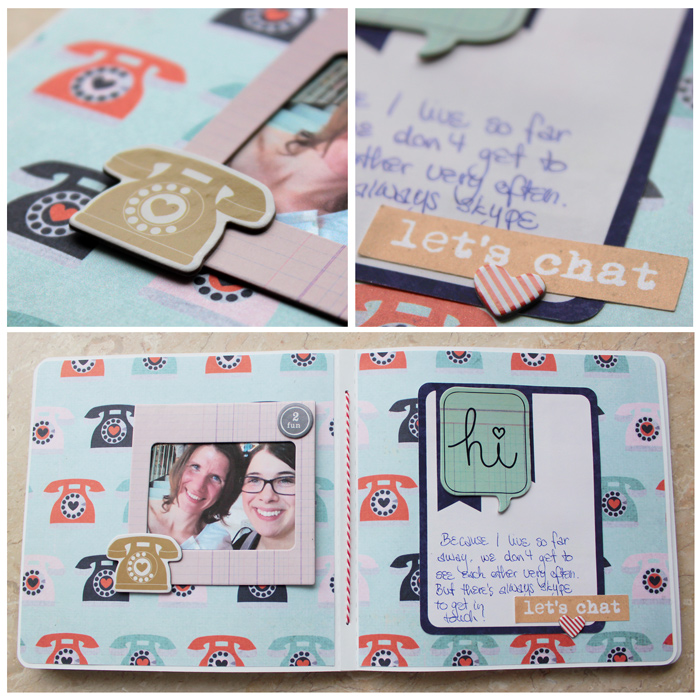
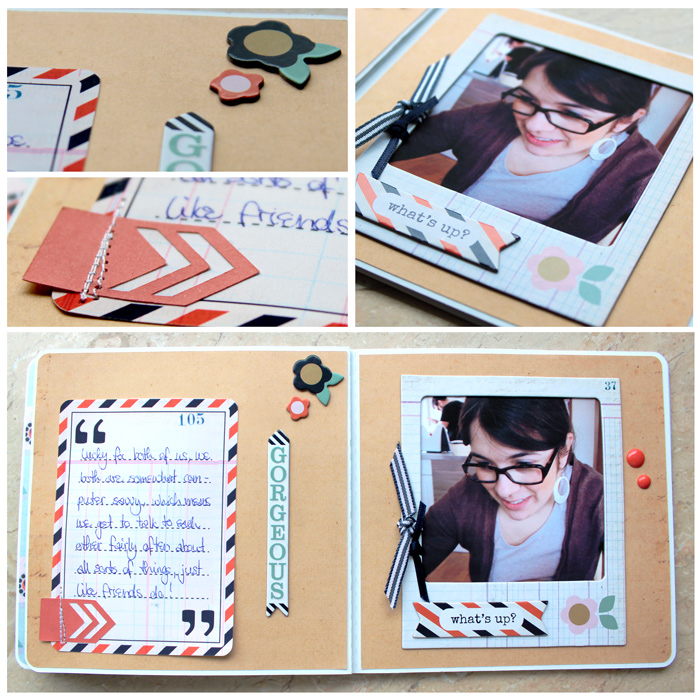
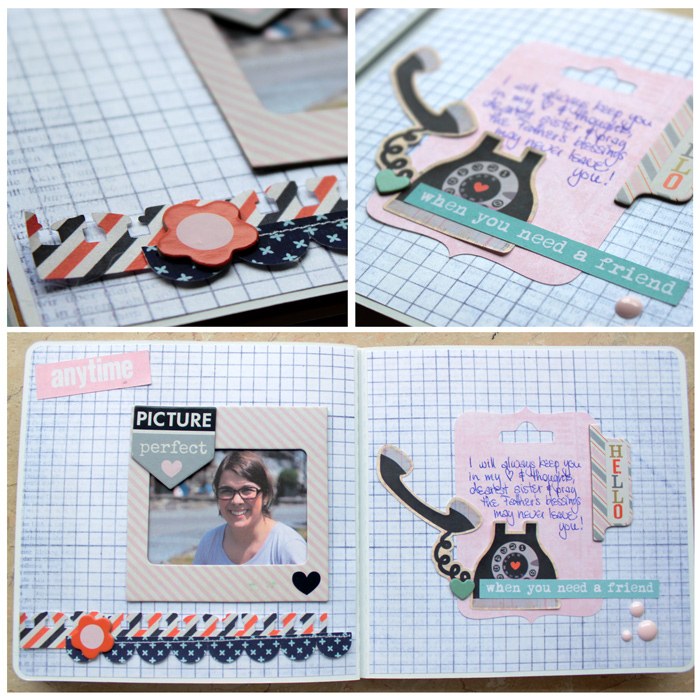
Boy, despite the fact that I’m on summer holiday, I haven’t gotten to the point of starting to work on another mini album (though I have lots of topics to scrap about, and lot’s of materials, too). Anyhoo, as I’ve had chances to work on some albums over the last couple of months, there’s still more that I can show you. Today, I’d like to share a little mini album for which I used a number of things:
Junge, Junge, obwohl Sommerferien sind, bin ich noch überhaupt nicht dazu gekommen, endlich mal wieder mit einem neuen Album loszulegen (dabei habe ich eine Menge Ideen und Materialien, auf die ich auch zurückgreifen kann). Wie dem auch sei, da ich im letzten Halbjahr an ein paar Minialben gebastelt habe, habe ich immer noch ein paar Alben, die ich hier präsentieren kann. Heute möchte ich euch ein Album zeigen, für das ich folgende Dinge verwendet habe:

Credits:
Destination: Port of Call by Amber Shaw
Template by Sara Gleason
Credits:
Felicity by Krystal Hartley

Credits:
Great Outdoors: Escape by Kristin Cronin-Barrow
Credits:
Independence Day by Melissa Bennett

If you are a Project Lifer and like free printables, then maybe I have something fun for you this week. I found this cute little printable set that comes with a bunch of versatile things such as journaling cards, labels, tags, flags, etc. Go check it out and maybe you can use it in one of your projects.
Wenn du ein Projekt Leben Scrapper bist und kostenlose Drucksachen magst, dann habe ich diese Woche vielleicht eine hübsche Kleinigkeit für dich. Ich habe vor kurzem dieses kleine Druckset gefunden, das eine Reihe verschiedener Elemente wie Schreibkarten, Etiketten, Anhänger usw. enthält. Sieh’s dir doch einfach mal näher an und vielleicht kannst du es ja in einem deiner Projekte gebrauchen.

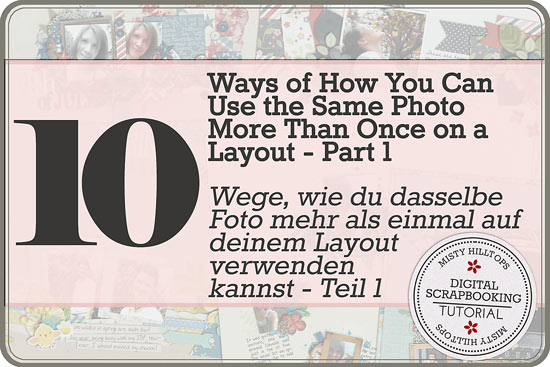
Hey peeps, I’m just dropping in to share with you another quick little tutorial. Today it’s all about using the same photo more than once on a layout.
Hallo Freunde, ich schau nur mal kurz rein, um schnell ein kleines Tutorial zu posten. Heute geht es darum, dasselbe Foto mehrfach auf einem Layout zu verwenden.

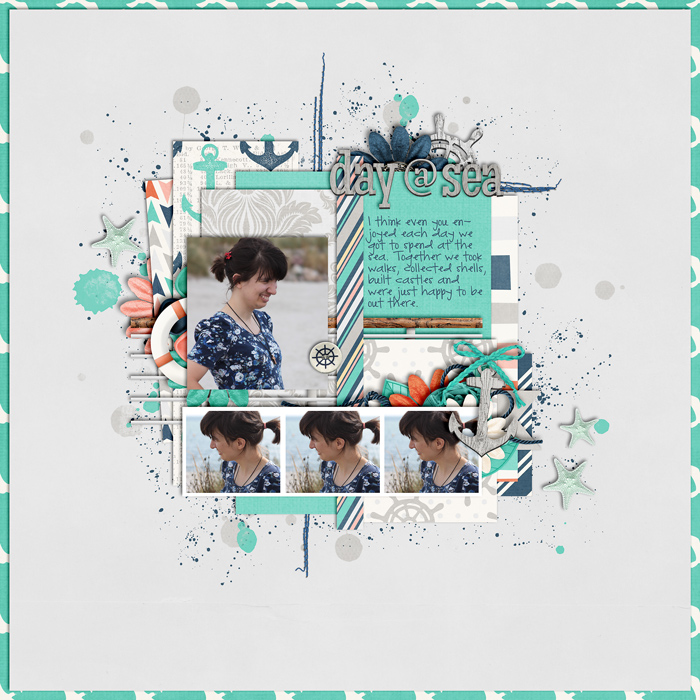
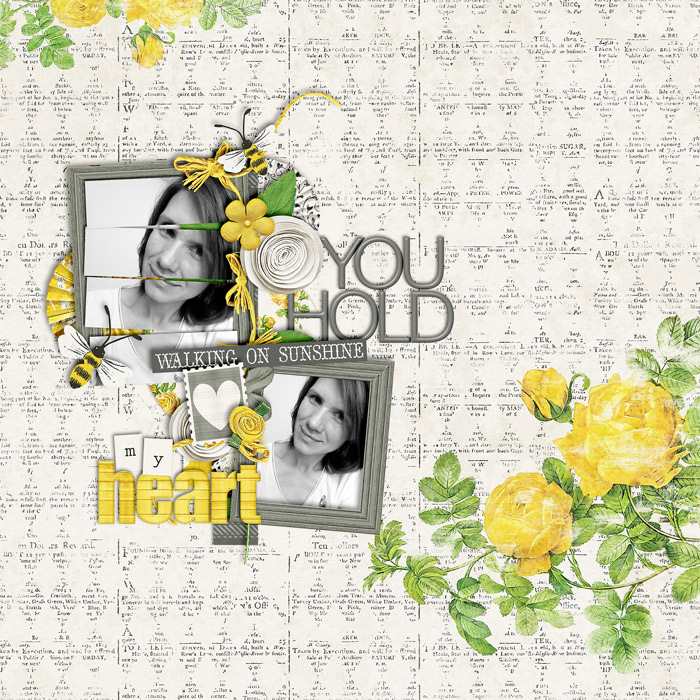
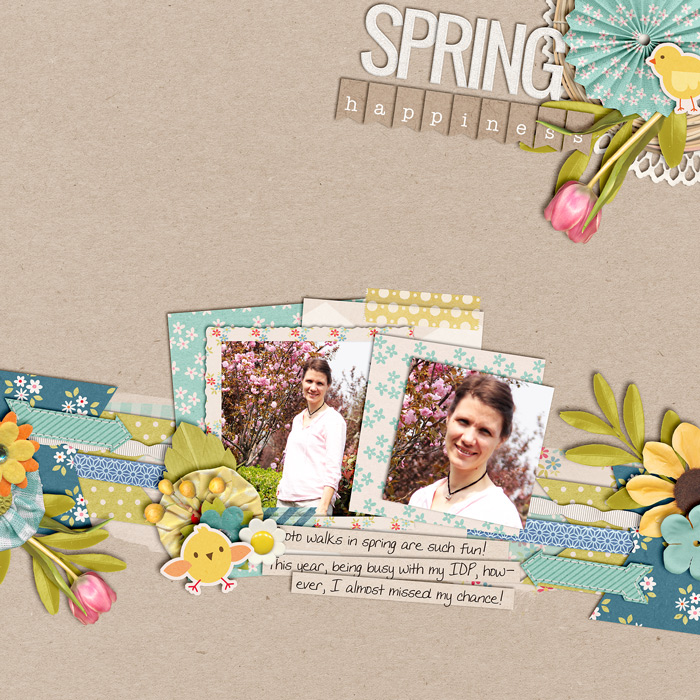
You can easily use the same photo on a layout more than once by varying the sizes. This creates an illusion that different photos are being used and prevents a layout from looking boring because of the limited choice of photos. In my example below, I only used one photo, but I used the smaller photos (cropped in different sizes, see Tip 2 below) to support the large main photo. By combining Tip 1 with Tip 2 below I led the viewer of this layout to believe that I actually ended up using a bunch of different photos (which, of course, wasn’t the case). Also, note how I used different formats for the photos. The large version is a plain rectangular format, the smaller supporting photos are square formats.
Du kannst leicht dasselbe Foto mehrfach auf einem Layout verwenden, indem du die Größe des Fotos variierst. Das schafft die Illusion, dass du verschiedene Fotos verwendest und verhindert, dass das Layout wegen der begrenzten Auswahl der Fotos als langweilig herüberkommt. In meinem Beispiel unten habe ich nur ein Foto verwendet, aber ich habe die kleineren Fotos genommen (sie auch auf verschiedene Größen zugeschnitten, siehe Tipp 2 unten), um das große Hauptfoto zu bekräftigen. Indem ich Tipps 1 und 2 kombiniert habe, habe ich den Betrachter dazu gebracht zu glauben, dass ich in Wirklichkeit eine Reihe verschiedener Fotos verwendet habe (welches aber ja nicht der Fall ist). Achte bei dem Beispiel unten auch mal darauf, wie ich verschiedene Fotoformate verwendet habe. Die große Version ist ein einfaches typisches Rechteck-Format; die kleineren Fotos dagegen sind quadratisch, was zusätzlich für Abwechslung sorgt.
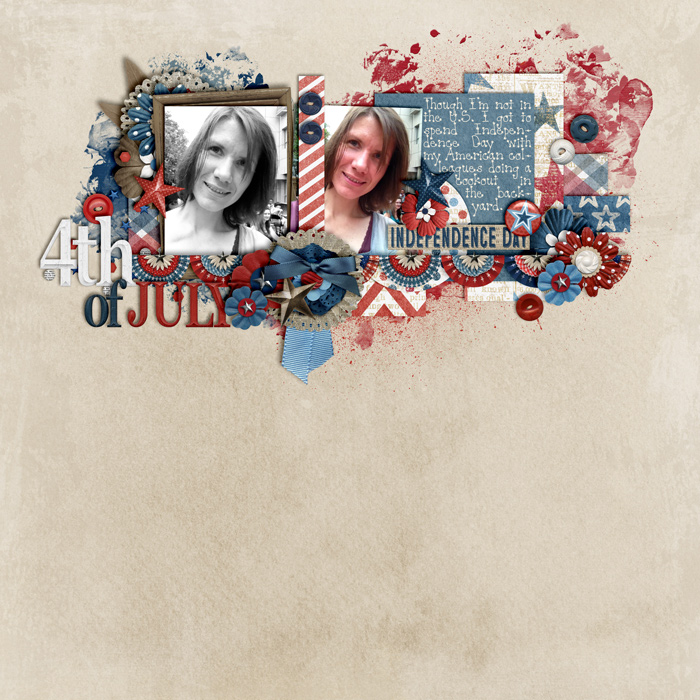
You can crop a photo to different scenes. This works well, when there are more than one person in the photo, if there are various things going on, or by simply choosing a full picture version and then cropping the photo to one detail within the picture (see layout below).
Du kannst aus einem Foto einfach verschiedene Szenen herausschneiden. Das funktioniert vor allem gut, wenn mehr als eine Person auf dem Foto ist, wenn auf dem Foto verschiedene Dinge passieren, oder indem du einfach erstmal die volle Version des Fotos und dann in der Detailansicht einen Ausschnitt verwendest (siehe folgendes Beispiel).
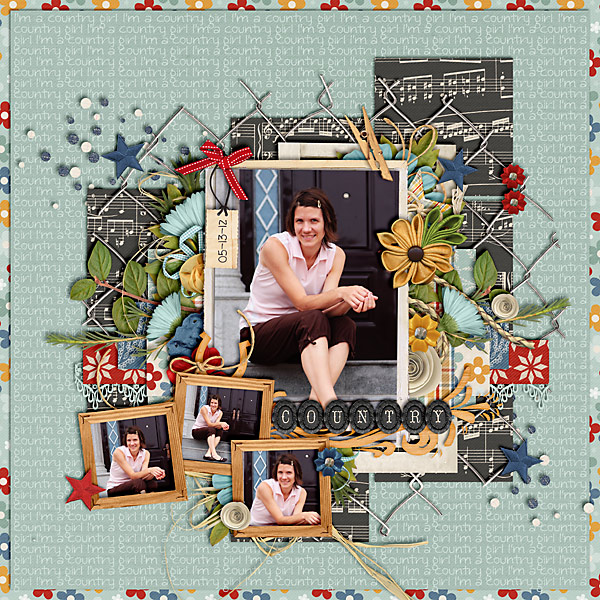
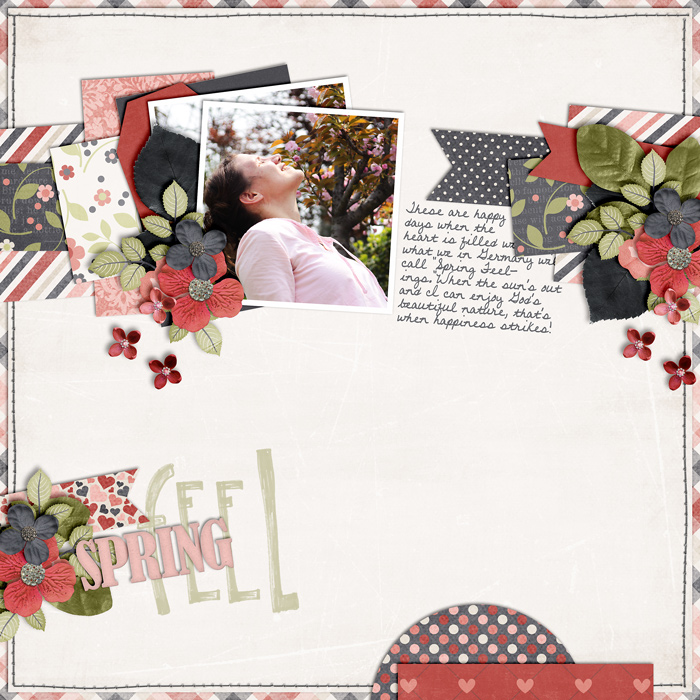
Yet another easy way to create an illusion of having used multiple photos is by editing your photos and using the different versions on your layout. The most obvious, of course, would be combining black-and-white photos with color photos. But you can just run different Photoshop actions for a varied look and this will create enough tension that using the same photo doesn’t come across as boring.
Eine weitere einfache Weise, mit der du die Illusion erschaffen kannst, dass du verschiedene Fotos verwendest, ist indem du deine Fotos bearbeitest und dann verschiedene Versionen auf deinem Layout verwendest. Am offensichtlichsten ist das natürlich, wenn due Schwarzweißfotos mit Farbfotos kombinierst. Du kannst auf deinen Fotos aber auch verschiedene Photoshop Aktionen anwenden. Das erzeugt dann soviel Spannung auf dem Layout, dass es nicht allzu langweilig erscheint, wenn du dasselbe Foto mehrfach verwendest.

You can use the same photo more than once and still loosen things up, if you place your photo in different corners/areas of your layout. Go for opposite directions (upper left corner – lower right corner, left side – right side, etc.), or go random. There will be so much to look at that using the same photo won’t appear to be boring.
Du kannst dasselbe Foto mehr als einmal verwenden und immer noch die ganze Sache auflockern, indem du deine Fotos an verschiedenen Stellen auf deinem Layout platzierst. Suche dir z. B. gegensätzliche Seiten (obere linke Ecke – untere rechte Ecke, linke Seite – rechte Seite, etc.), oder mach’s einfach wie du Lust hast. Es wird auf deiner Seite so viel zu gucken geben, dass es nicht langweilig erscheint, wenn das gleiche Foto mehrfach zu sehen ist.
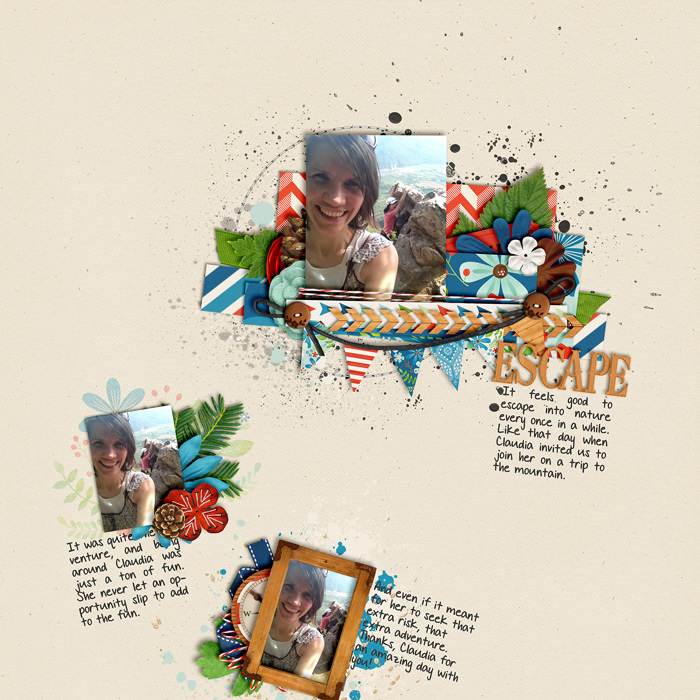
Another creative way of using the same photo more than once without people realizing it would be to stack your photos. Who says that viewers have to see the whole of every photo on your layout, especially when that photo is fully displayed once already? Just play with different variations and you’ll find that there’s no limit to how often you can use the same photo on your layout.
Noch eine kreative Art, dasselbe Foto mehrfach zu verwenden – ohne dass der Betrachter es wirklich merkt – ist, wenn du deine Fotos übereinander stapelst. Wer sagt denn, dass der Betrachter jedes Foto auf deinem Layout immer im Ganzen sehen muss – vor allem, wenn das Foto schon einmal ganz gut auf der Seite dargestellt wird? Probier einfach mal die verschiedenen Möglichkeiten aus und du wirst sehen, dass es keine Grenzen gibt, wie oft du dasselbe Foto auf deinem Layout verwenden kannst.
And if you liked today’s post, don’t miss out on next week’s tutorial, where I’ll present to you 5 more ways of how to use one photo multiple times on a layout.
Und wenn dir dieser Artikel heute gefallen hat, dann vergiss nicht, nächste Woche wieder vorbeizuschauen, wenn ich dir 5 weitere Wege zeige, wie man dasselbe Foto mehrfach auf einem Layout verwenden kann.
Note: For credits, simply click on each layout.
Achtung: Für Infos zu den einzelnen Layouts einfach aufs jeweilige Bild klicken.

