Composition and element clusters often make or break a scrapbook layout. With all the templates that are circulating the market these days, clustering has been made a lot easier, and yet, I still hear more than enough comments about how people just don’t know how to create pretty clusters. If you’re one of them, then this tutorial is for you!
In this tutorial you will learn how to …
… add elements, and arrange them in such a way that they create clusters.
Here’s how it works …
Lets get started. I’m going to take you step by step, as I am creating one of my December Daily pages.
STEP 1| Add Elements You Desire to Use on Your Layout
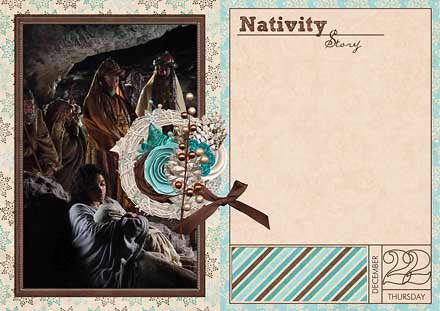
I’ve already prepared my page so that I only need to add and arrange the elements.
KEY #1: The order of when you add which element doesn’t matter.
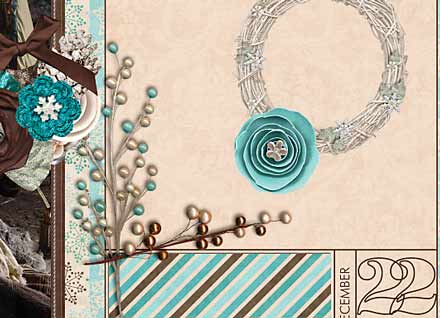
First, I just go through the element folder of the kit I’m using and pick a couple of the elements I’d like to add. I randomly place them on my page.
And then they usually have to be …
- … resized to suit the page;
- … adjusted in terms of angle and arrangement.
STEP 2 | Choose Where You Want Your Clusters to Be & Begin Arranging
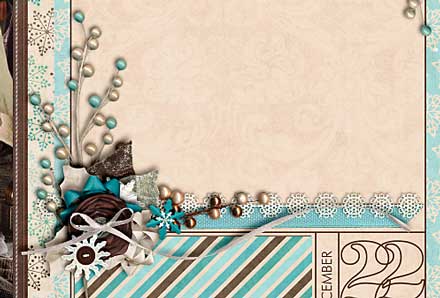
In my case, there are two main clusters that I’m going to create. So, now, I begin to drag elements into these two corners.
KEY #2: When clustering, there needs to be overlap but not completely, so that elements remain visible.
Tip:
Add shadows to your elements as you arrange them. This adds dimension to your layout, but it also helps you to see what it’ll look like in the end, and it’ll help you to determine how realistic your cluster looks.
KEY #3: Use elements of various sizes for your cluster.
Resizing is essential especially, if you use similar elements, such as several flowers, etc.
STEP 3 | Changing the Layer Order of Elements
Another pretty important part during the process of clustering is the Layers Panel. Here is where you can decide whether to place an element on top of another, or beneath another. So, while working on steps 2 and 3, you’ll constantly have to go back and forth between these two steps, to decide where exactly in the order of things you want your elements to be.
KEY #4: Make use of the Layers Panel.
Tip:
I usually place larger elements toward the bottom of the respective cluster (placing it lower in the Layers Panel), and then arrange smaller items on top or next to each other.
STEP 4 | Add More Elements
If you desire, you can add more elements to your clusters by going back to your elements folder. I tend to select just a few (about 10) elements at the beginning, and then add elements as I’m going.
Tip:
Duplicate elements to make your cluster look richer. Also, play around a little with your embellies. The good thing about digiscrapping is that you can always undo things if you don’t like the way something looks.
EXAMPLE:
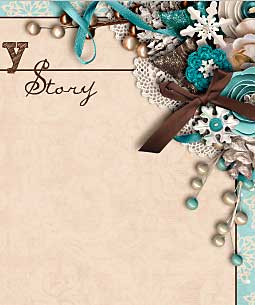
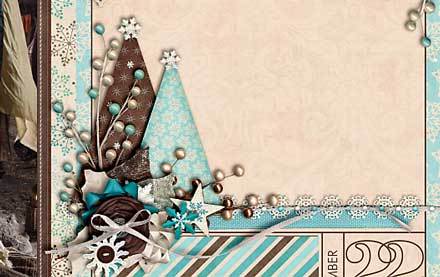
Here’s the other cluster that I’ve been working on.
Looking at it, I still found it looked rather bare, still missing something. So, I went back to my folder with the embellies, and found these two Christmas trees. I added them, and it changed the dynamics of this cluster drastically.
STEP 5 | Decide When to Finish
Clusters can be of various sizes overall, and they can have various numbers of elements as well. Knowing, when to stop adding elements to a cluster also is a very vital part of your composition. Of course, a lot of that depends on personal tastes and preferences, but having a feeling for when enough is enough certainly does make a difference.
Tip:
If you’re unsure whether the elements in your cluster are sufficient or not, try adding some, or taking some away to see the outcome. (When “taking away” elements, all you need to do is click on the eye in your Layers Panel to make it invisible. That way you don’t completely delete the layer, yet, but you can see what your cluster looks with and without it. If you decide you really don’t need the element anymore, then you can delete it.)
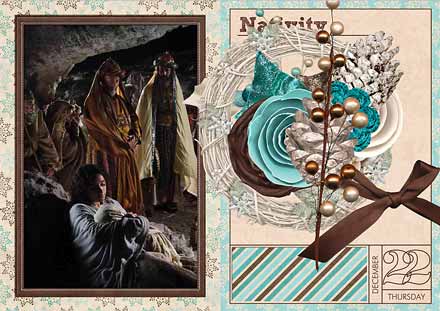
And here’s a look at the finished image:
Well, that’s it from me on this subject. I hope, to some of you it’s a little helpful. And if clusters intimidate you, just try your hand at them, and see what happens! Remember, digiscrapping is very generous in this area, since we can easily start all over, without actually wasting anything of our resources!
Happy scrapping, everyone!


